UbiBot Opp Localization Deployment Installation Process

Tim
Last Update 2 jaar geleden
I. Installation
Install UbiBotOPP
a. Double-click “UbiBotOPPSetup”.

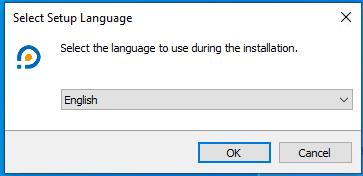
b. Select the setup language and click [Next].
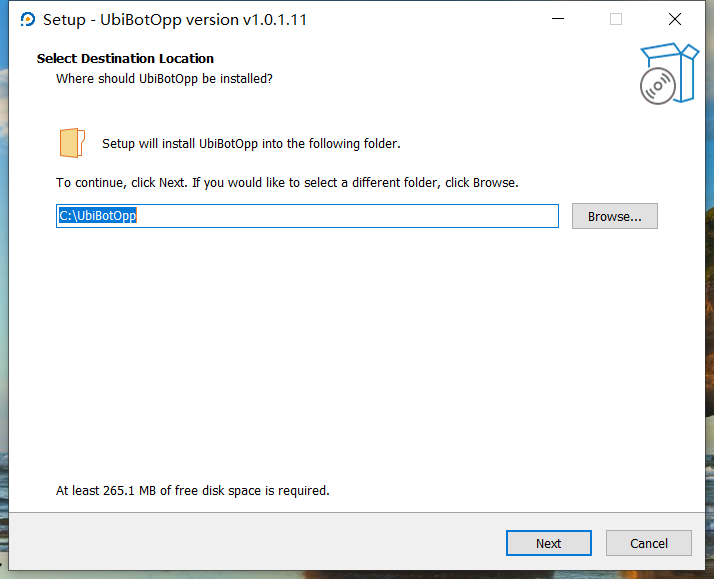
c. Choose the destination location. The default path is “C:\UbibotOpp”. Click [Next].
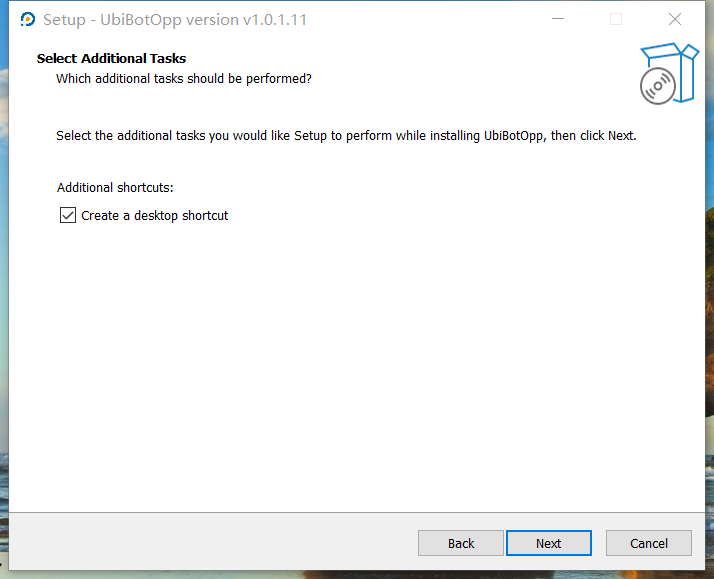
d. Select any additional tasks and click [Next].
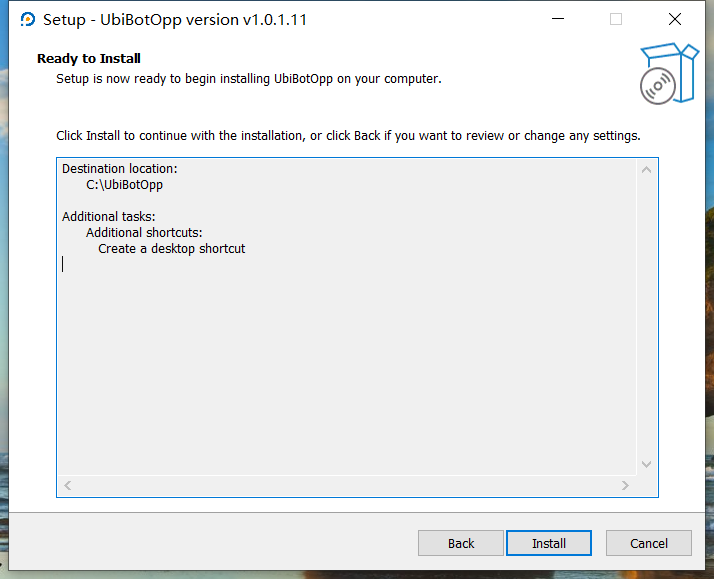
e. Click [Install]
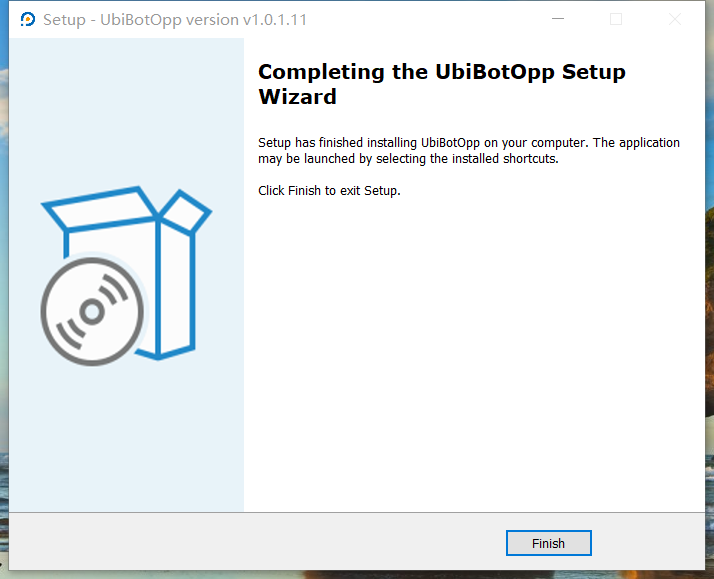
f. Click [Finish] to complete the installation.
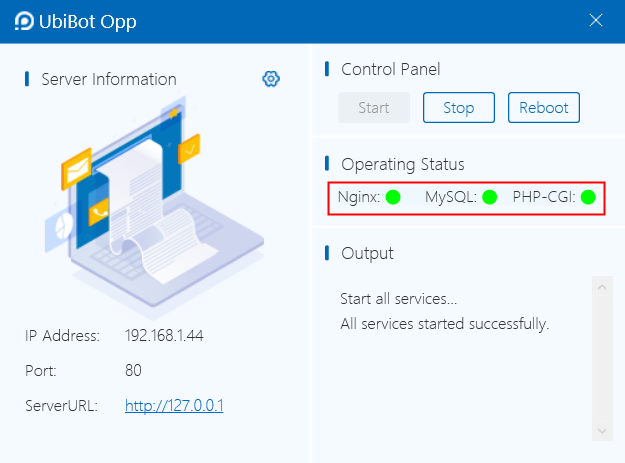
Run UbiBotOPP
Double-click UbiBotOPP and click [Start]. The operating status will turn green.
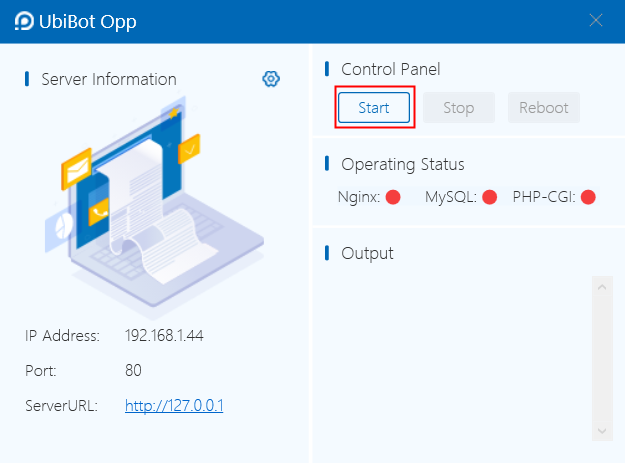
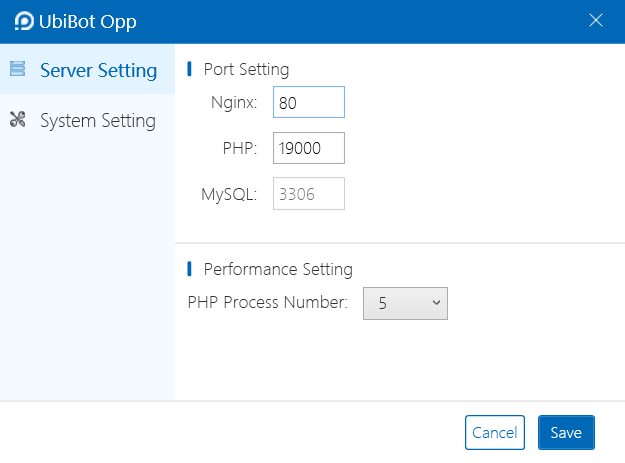
Note: If a port occupancy prompt appears, click the Settings button to change the port.

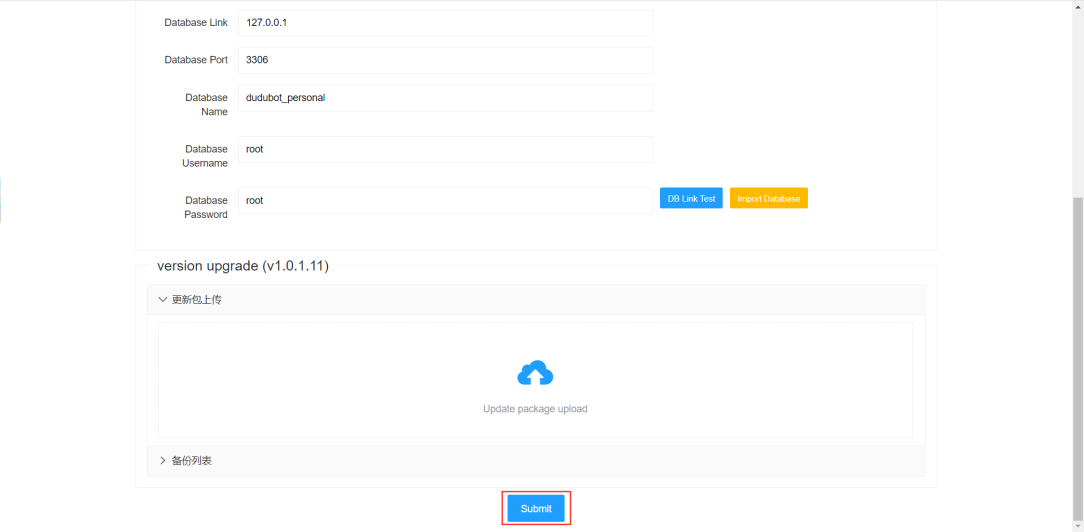
Privatization Environment Parameter Setting
a. Click ServerURL. After the first installation, you'll be redirected to the settings page. To modify settings later, visit http://127.0.0.1/system/.

b. Upload the license obtained from the App Center.
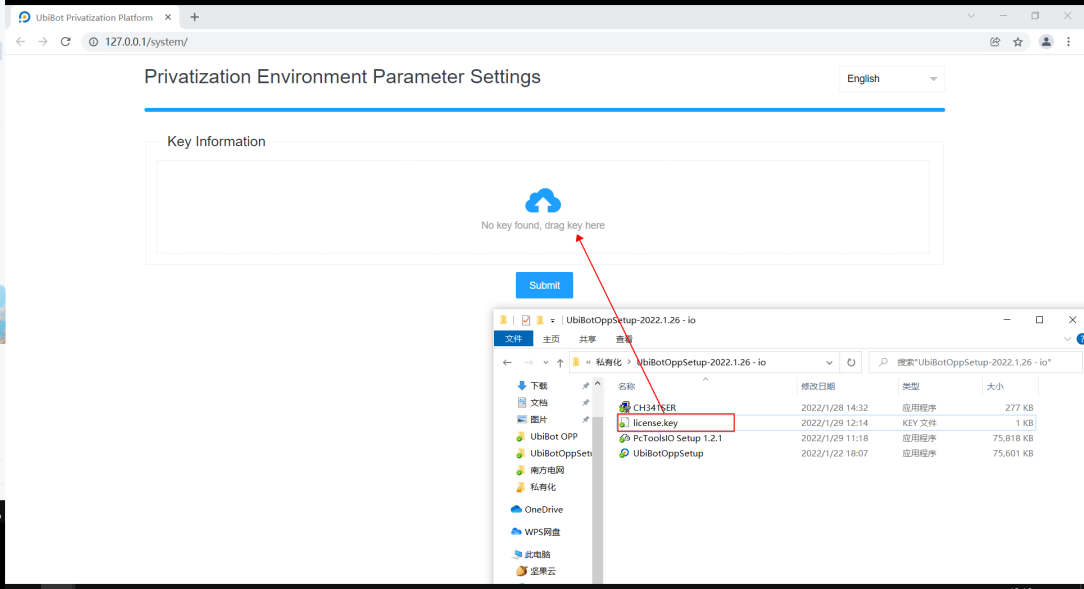
Post-upload, the key information will be displayed.
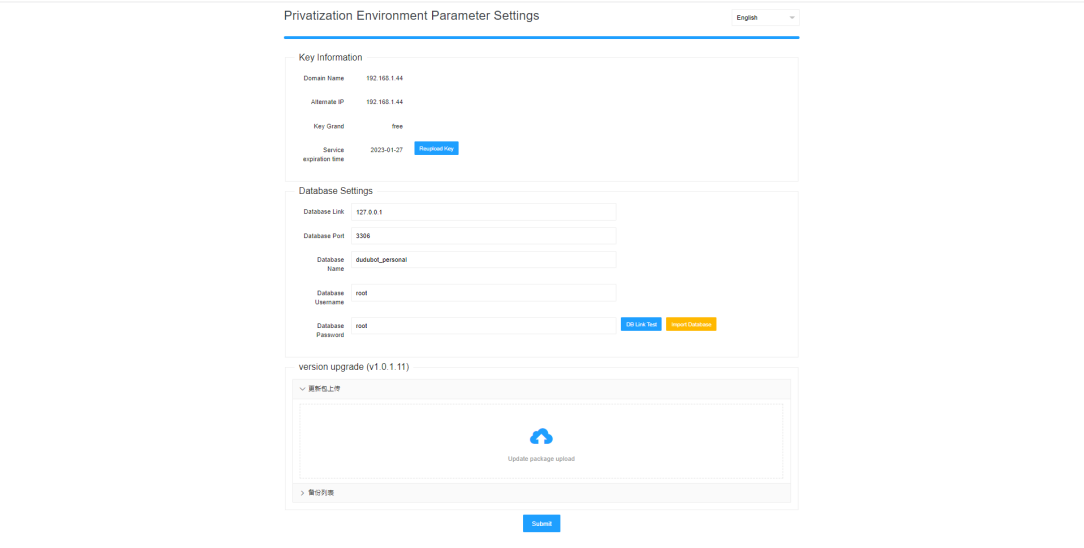
c. If no special settings are required, click [DB Link Test] to verify database connectivity.
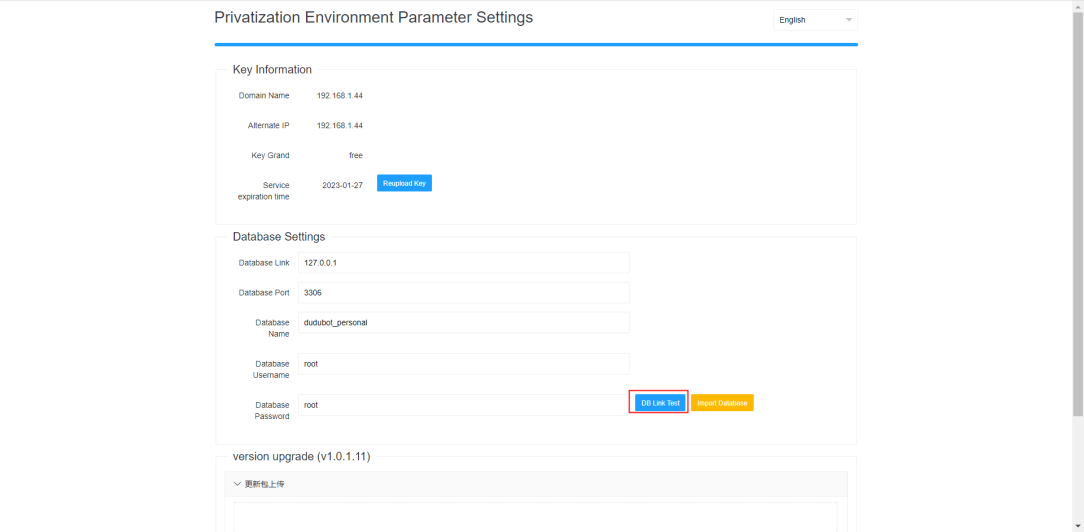
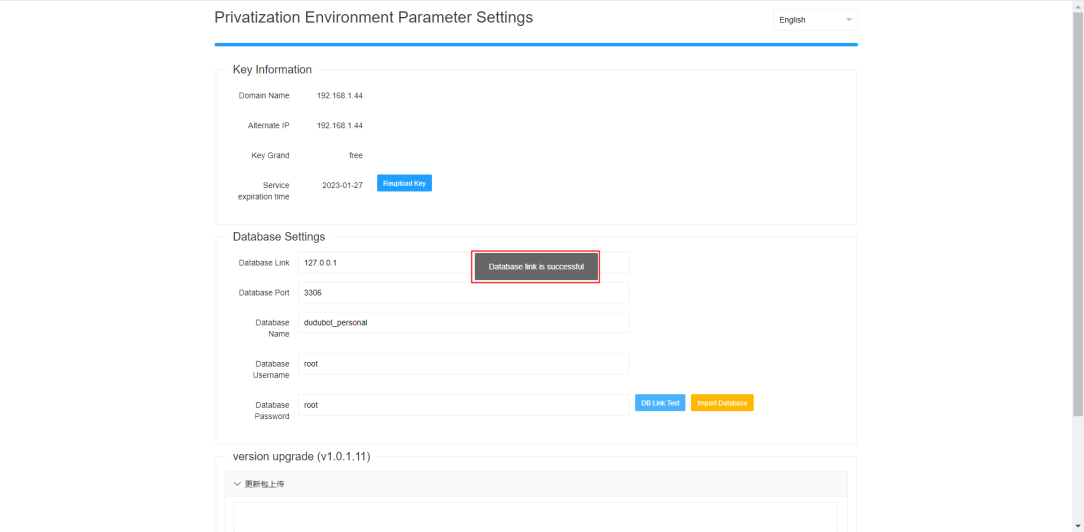
Note: [Import database] overwrites privatized data and is advised only for initial setup. After importing, test the database link again.
d. Click [Submit] to proceed to the console platform.
II. Activate the Device
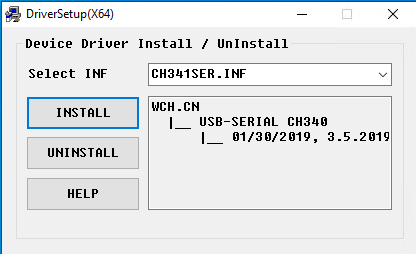
Install the CH340 Driver
a. Double-click “CH341SER”.

b. Click [Install].
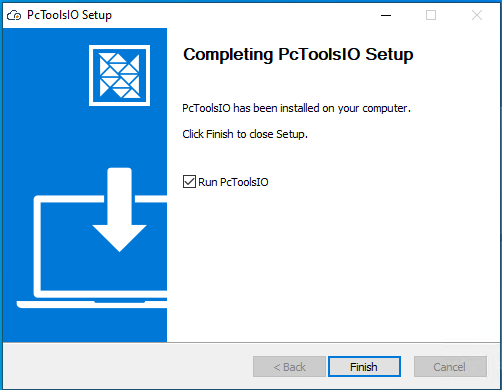
Install PC Tool
a. Double-click “PcToolsIO Setup 1.2.1”.

b. Click [Install].

c. Click [Finish].
Activate Device
Ensure the device is not already bound. If it is, restore factory settings first.
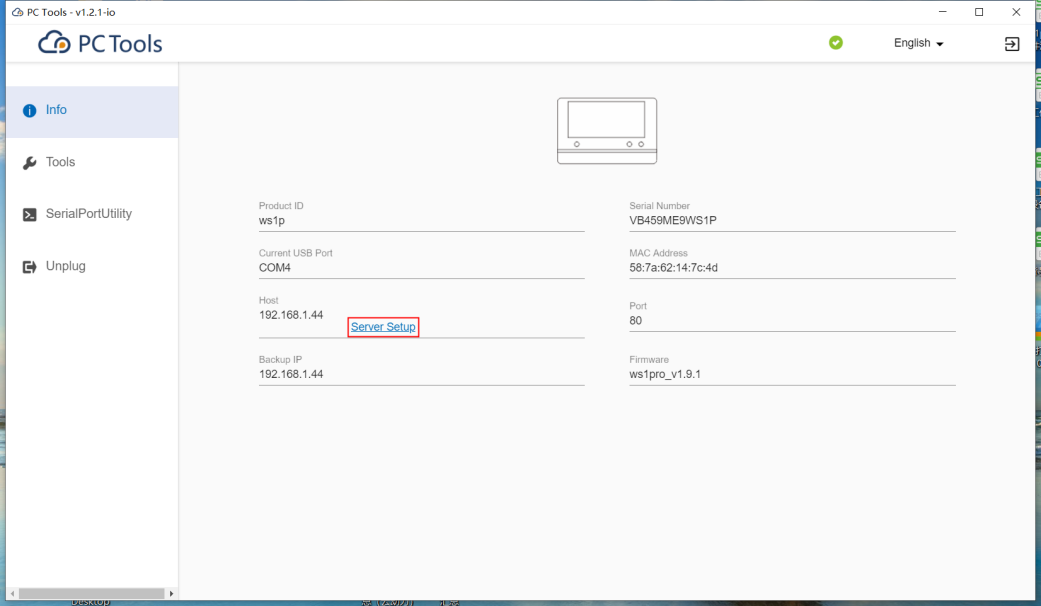
a. Double-click PC Tool.
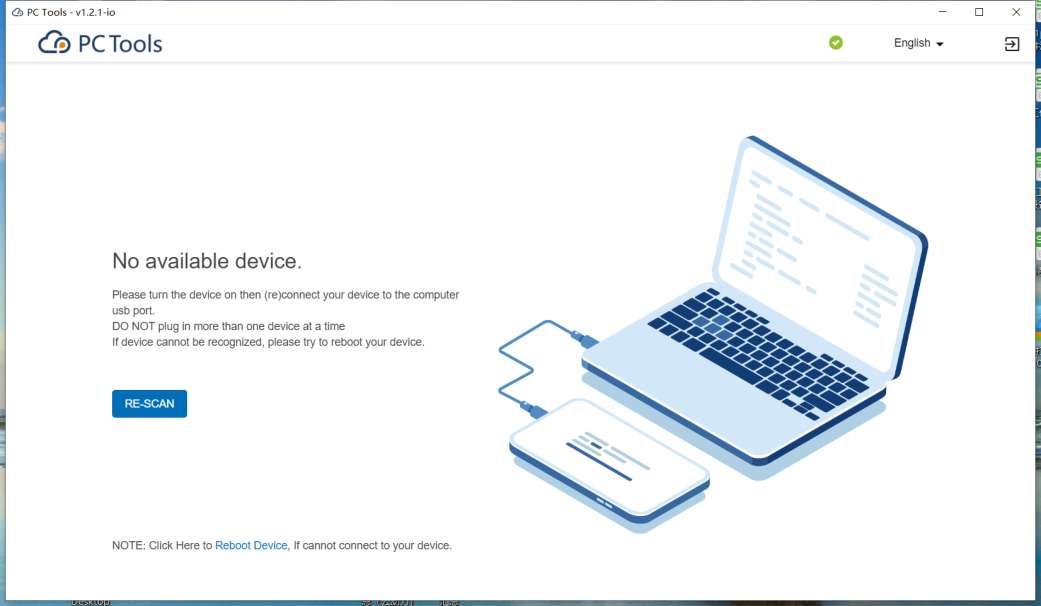
b. Connect the device via USB.
c. Click [Server Setup].
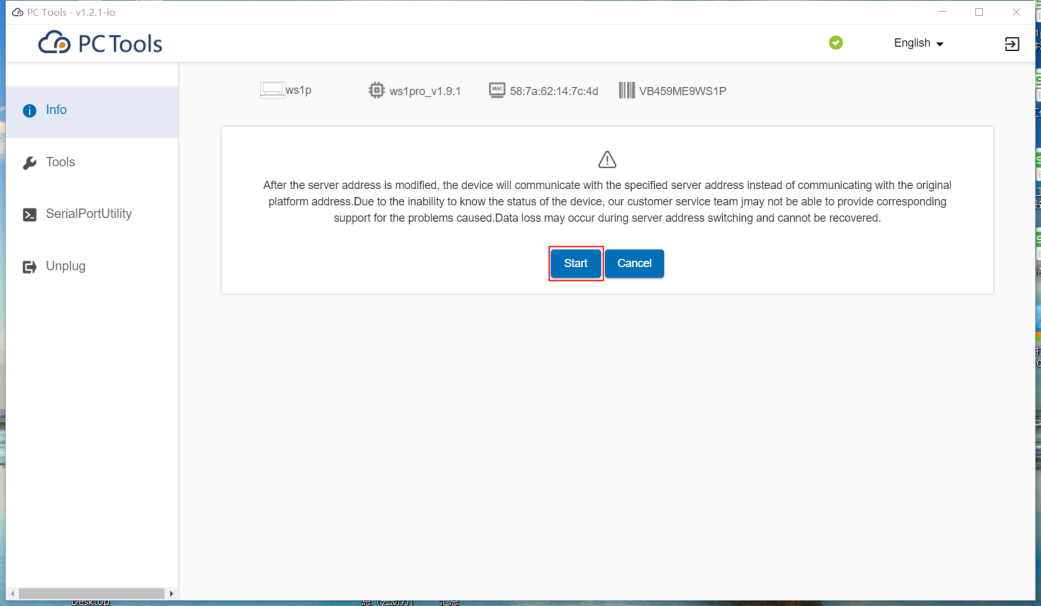
d. Click [Start].
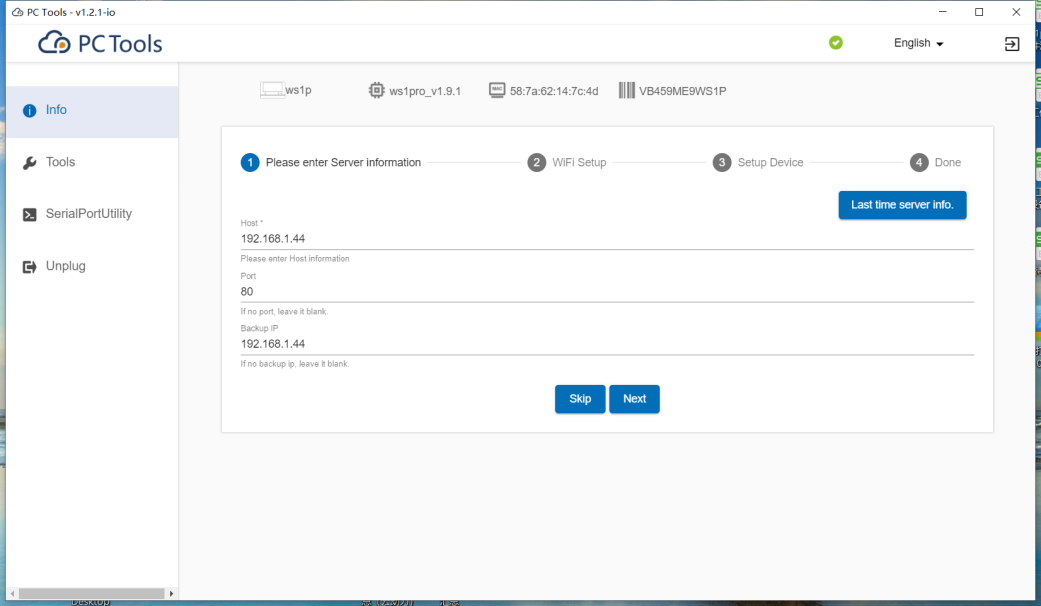
e. Input the host, port, and backup IP, then click [Next].
- Host: as defined in the key.
- Port: 80 (default). If modified in UbiBotOPP, update accordingly.
- Backup IP: as defined in the key.
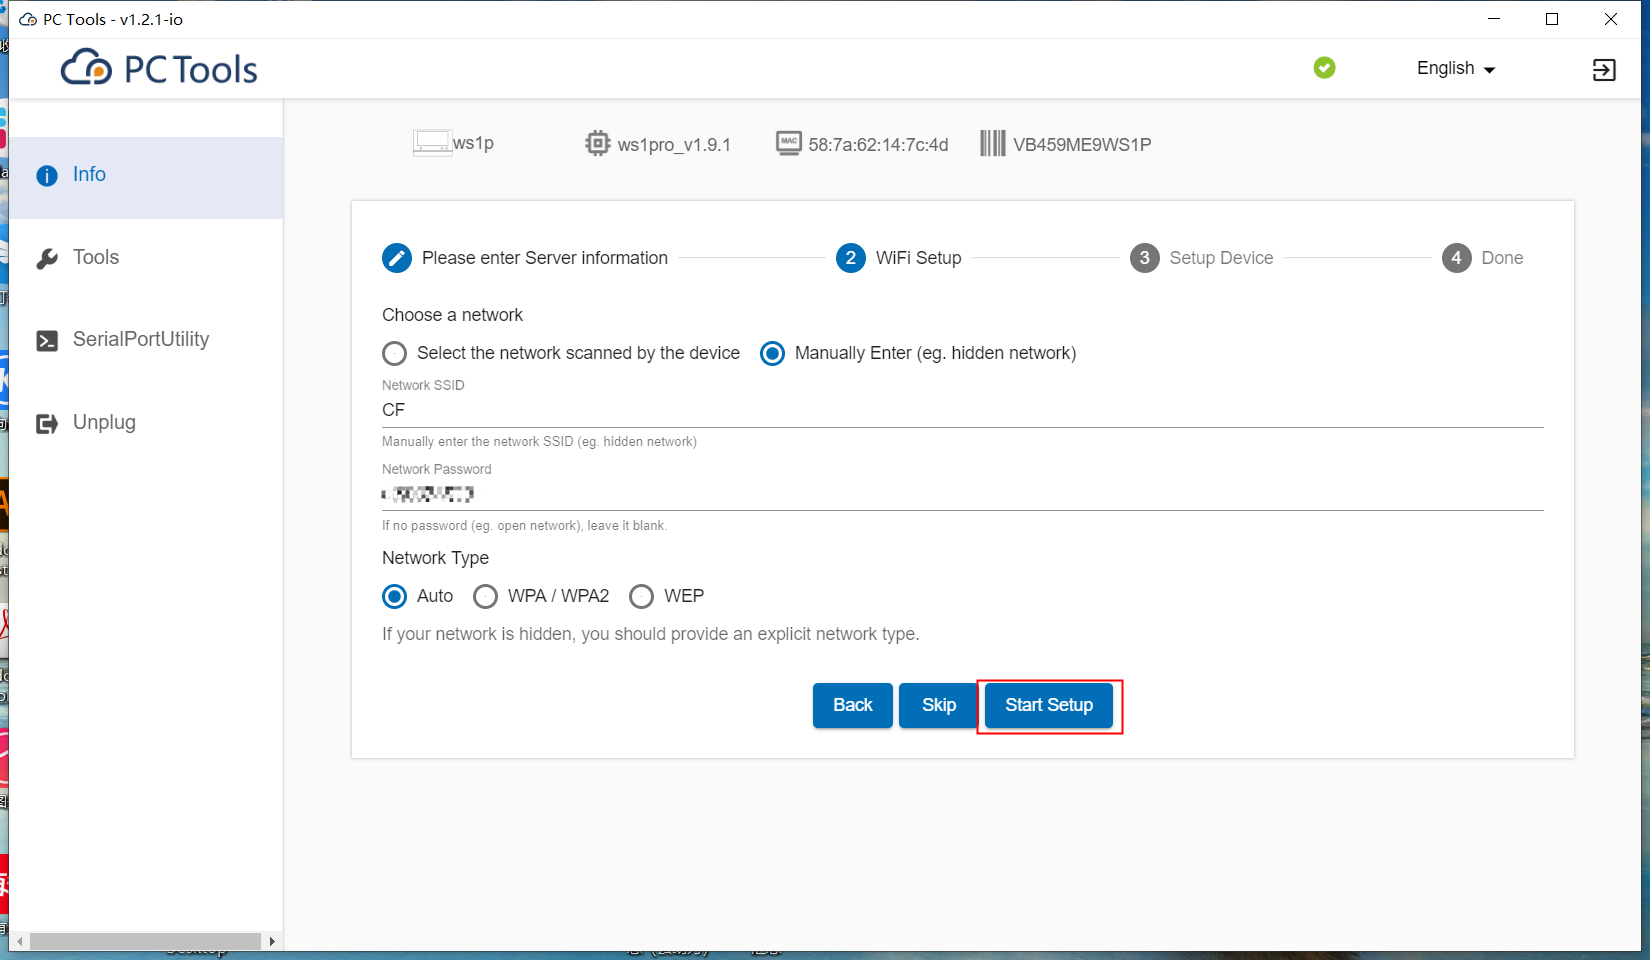
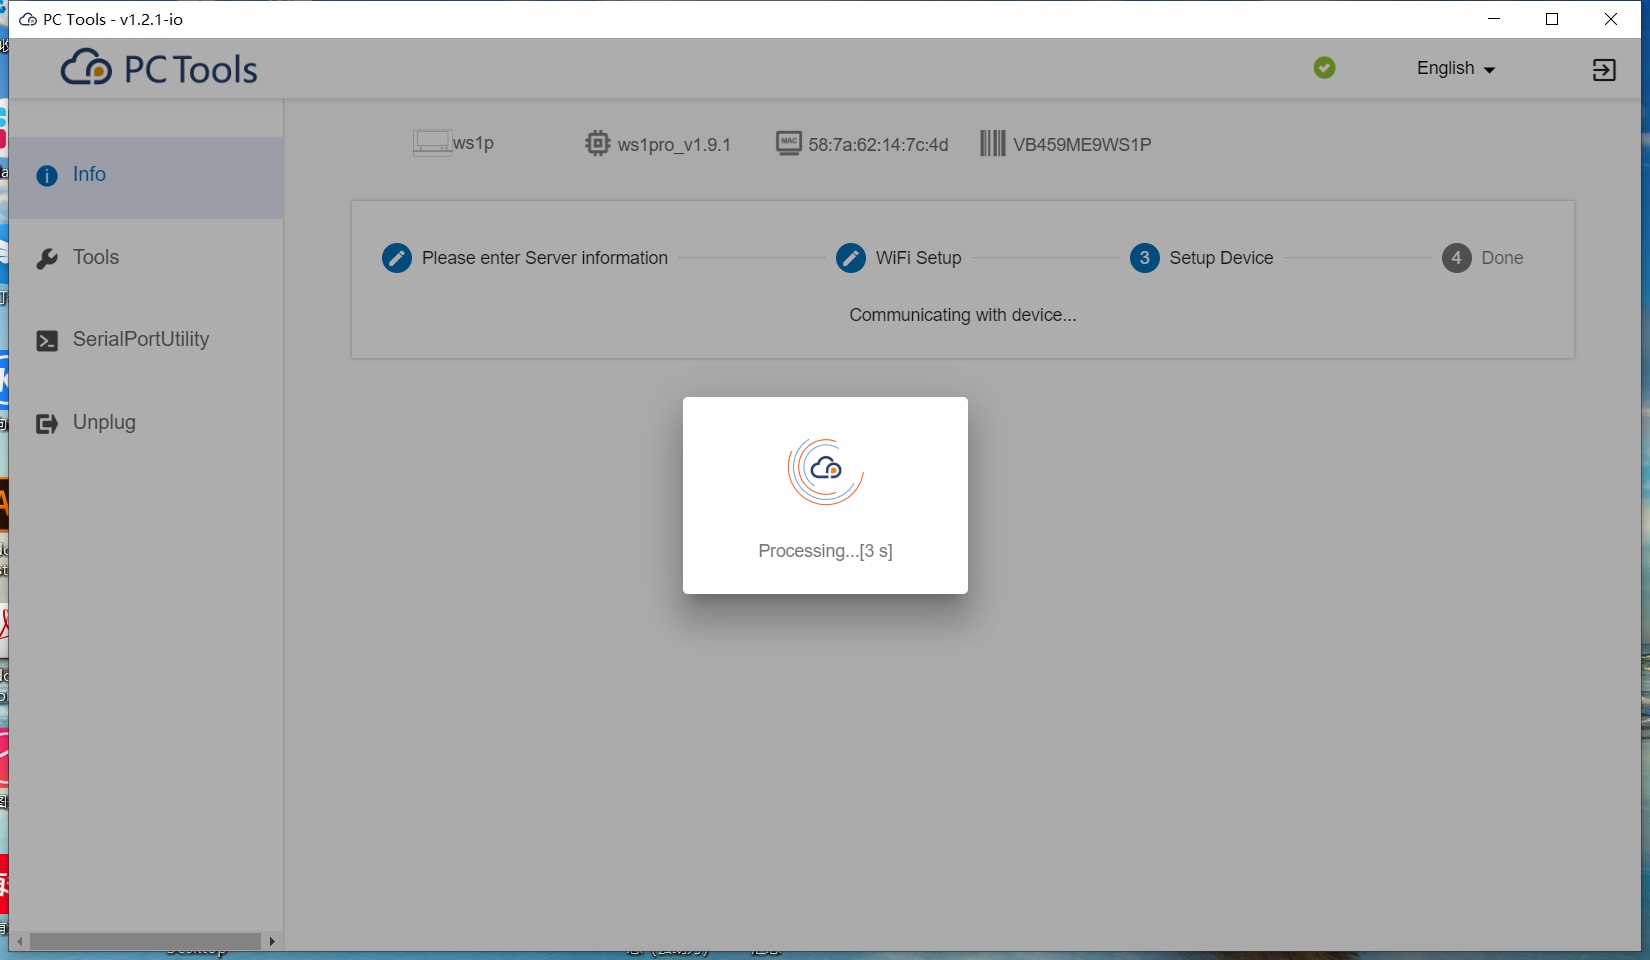
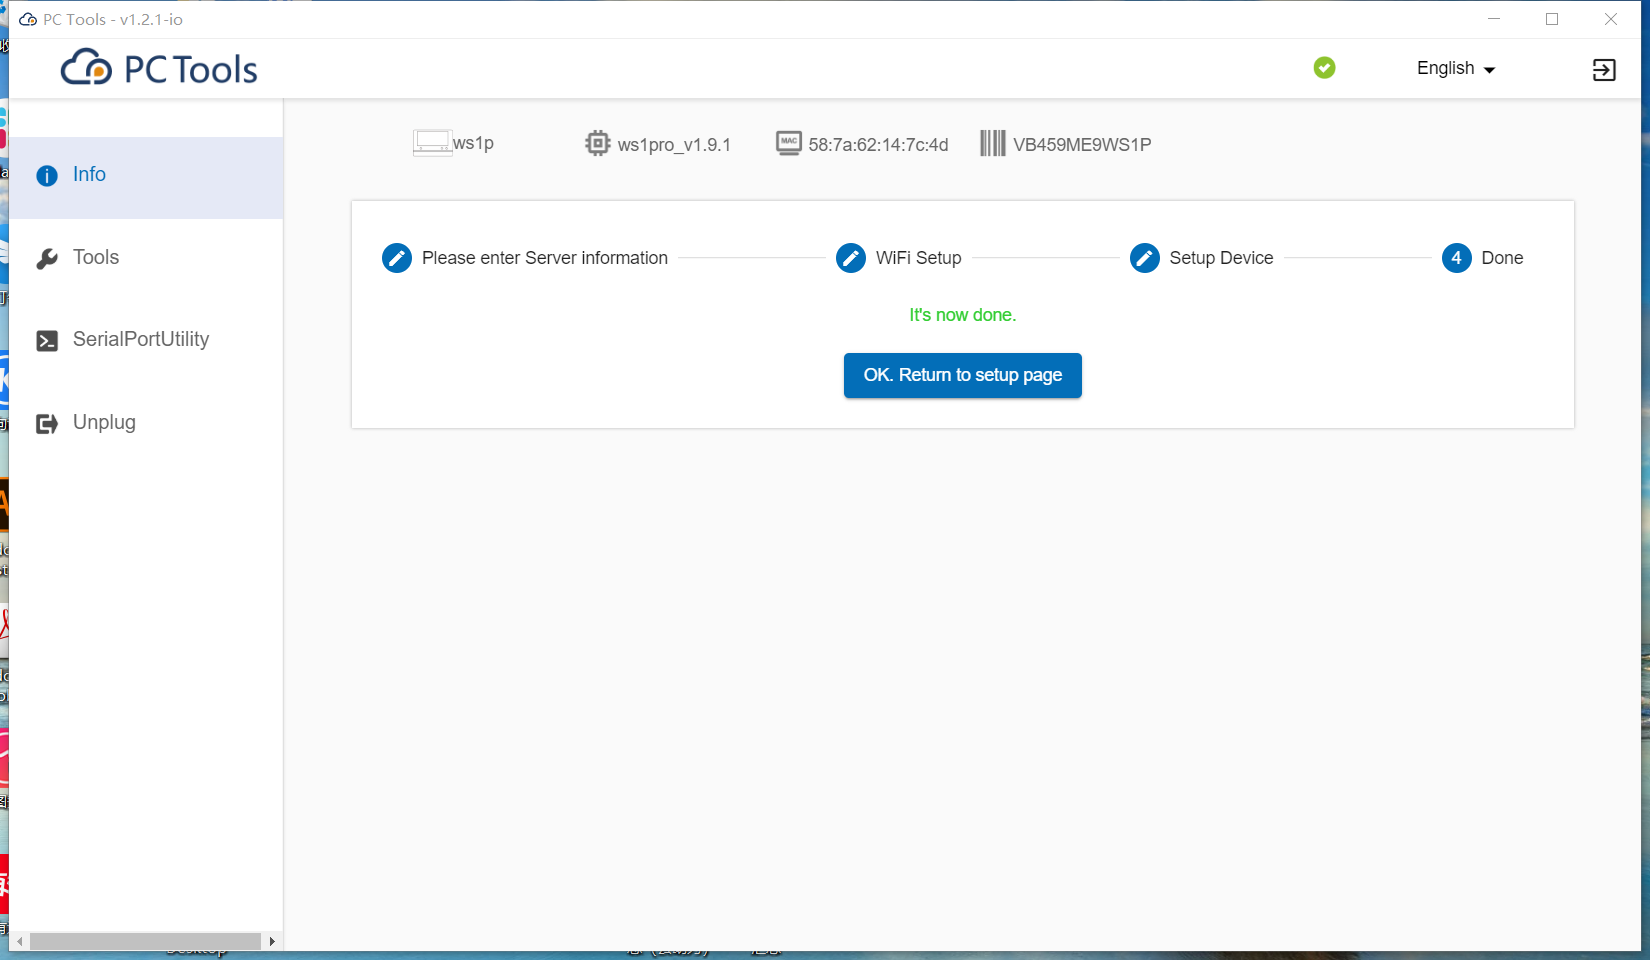
f. For WiFi setup, select the network, enter SSID and password, then [Start Setup]. The device will then appear on the console platform.
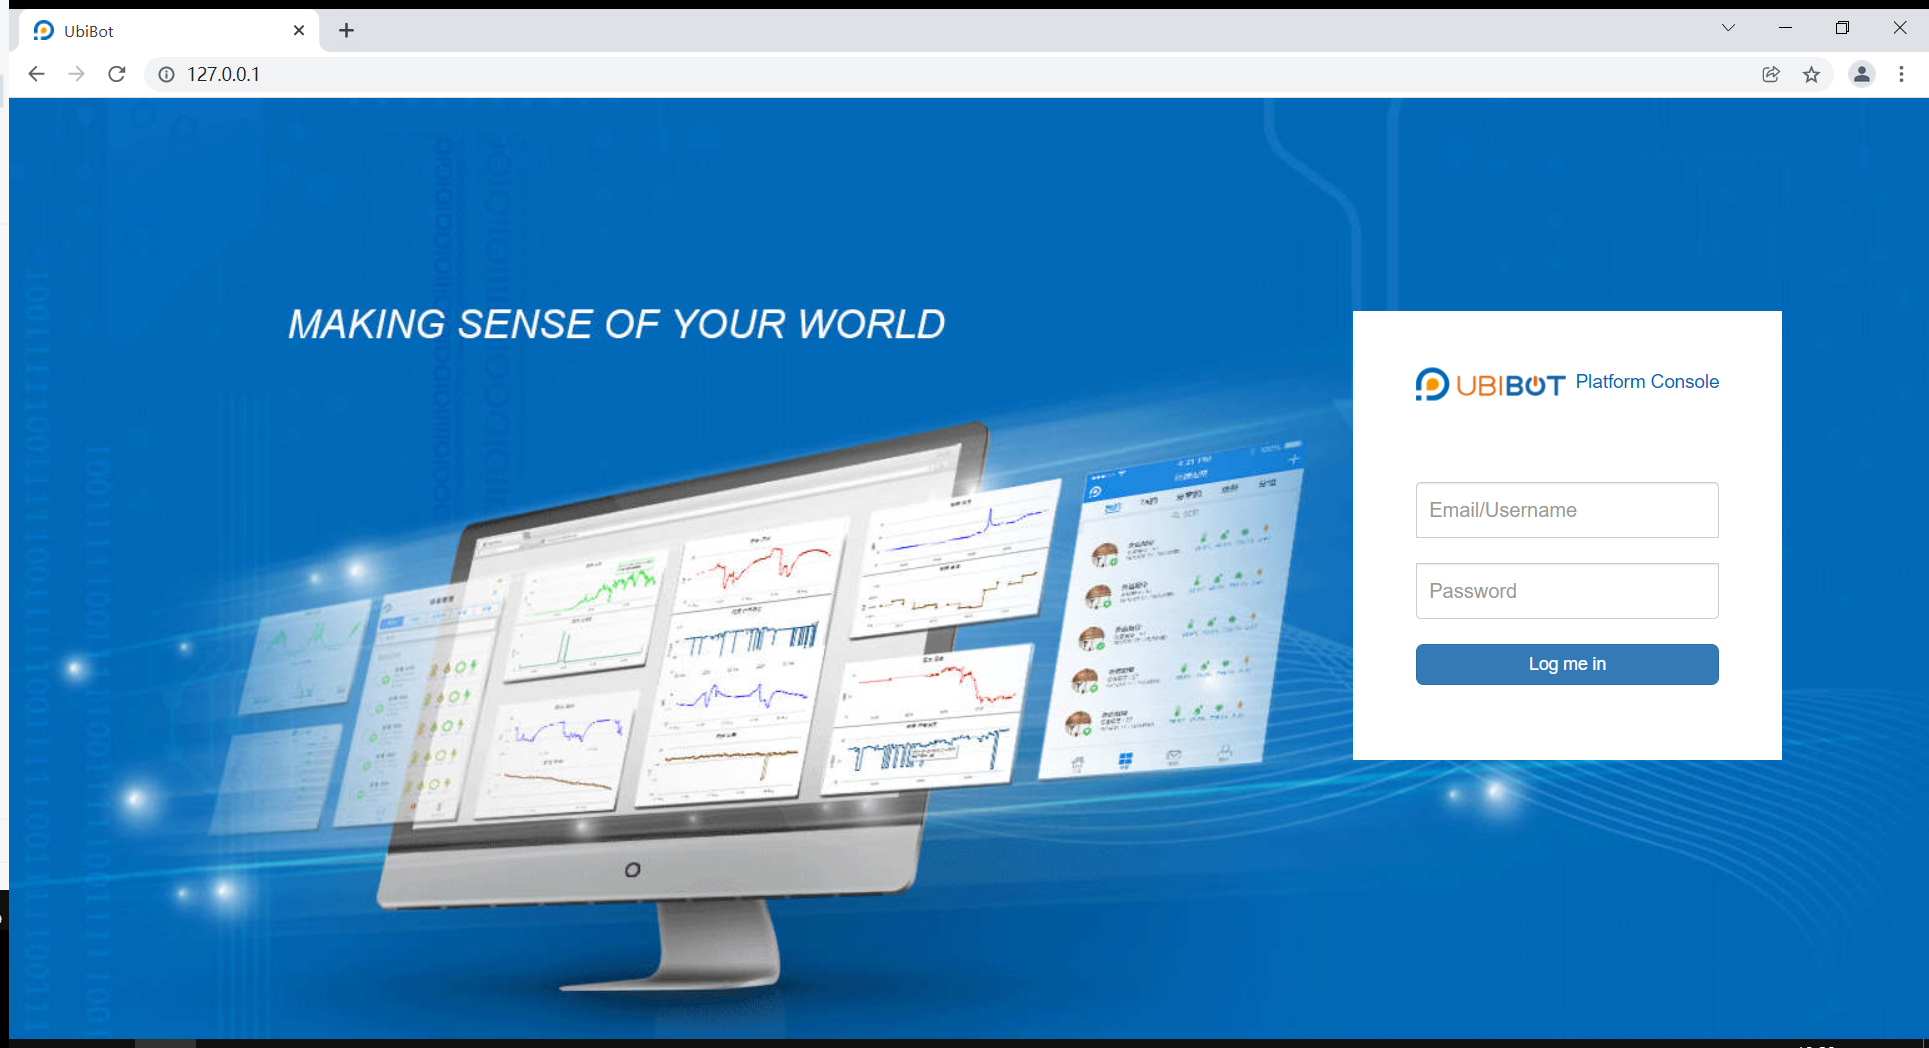
III. Log into the Console
Access the console via http://127.0.0.1/ (local server) or the designated host address.
Default login details:
- Username: admin
- Password: 123456
Click [Data Warehouse] to view activated devices.
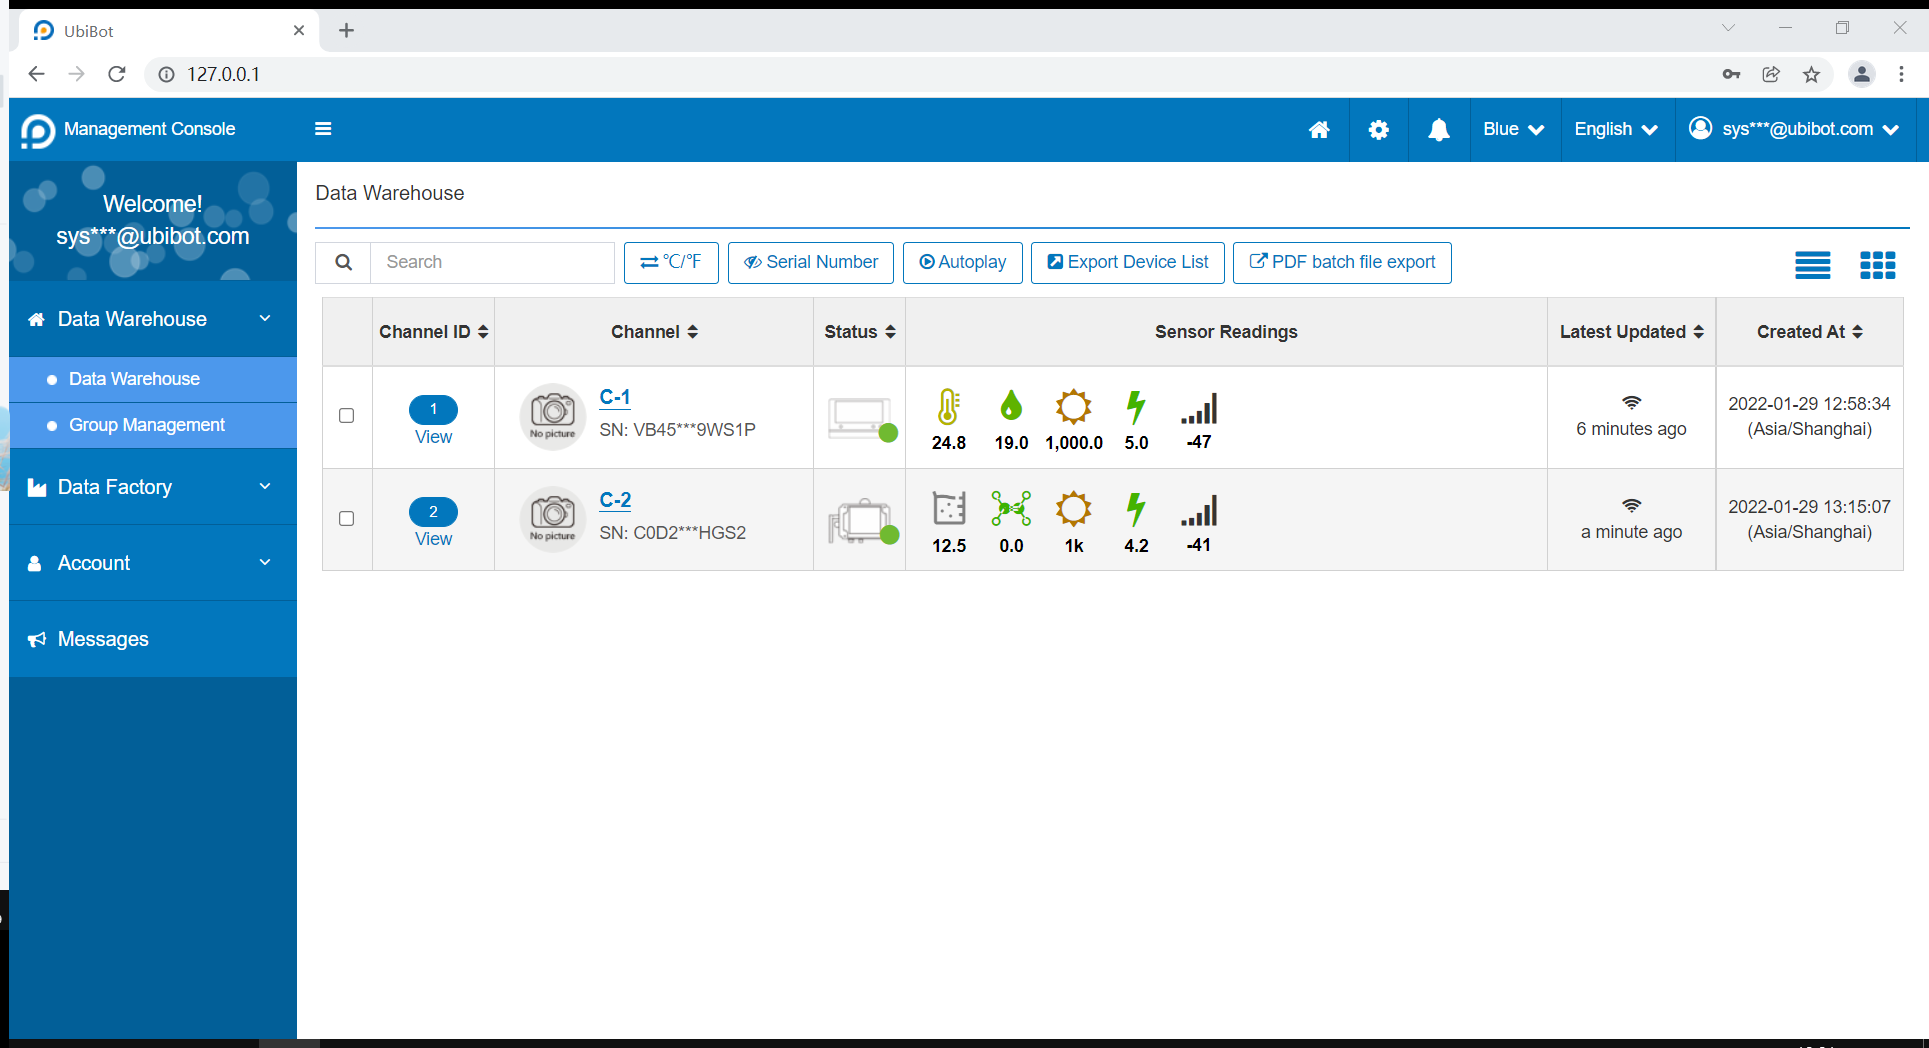
Note: To rebind a device after deletion, restore factory settings first.