Seamless Integration of UbiBot with IFTTT: A Step-by-Step Guide

Tim
Last Update 2 years ago
You can watch the tutorial video on YouTube : https://www.youtube.com/watch?v=vlyO7oM-Pcw&feature=youtu.be
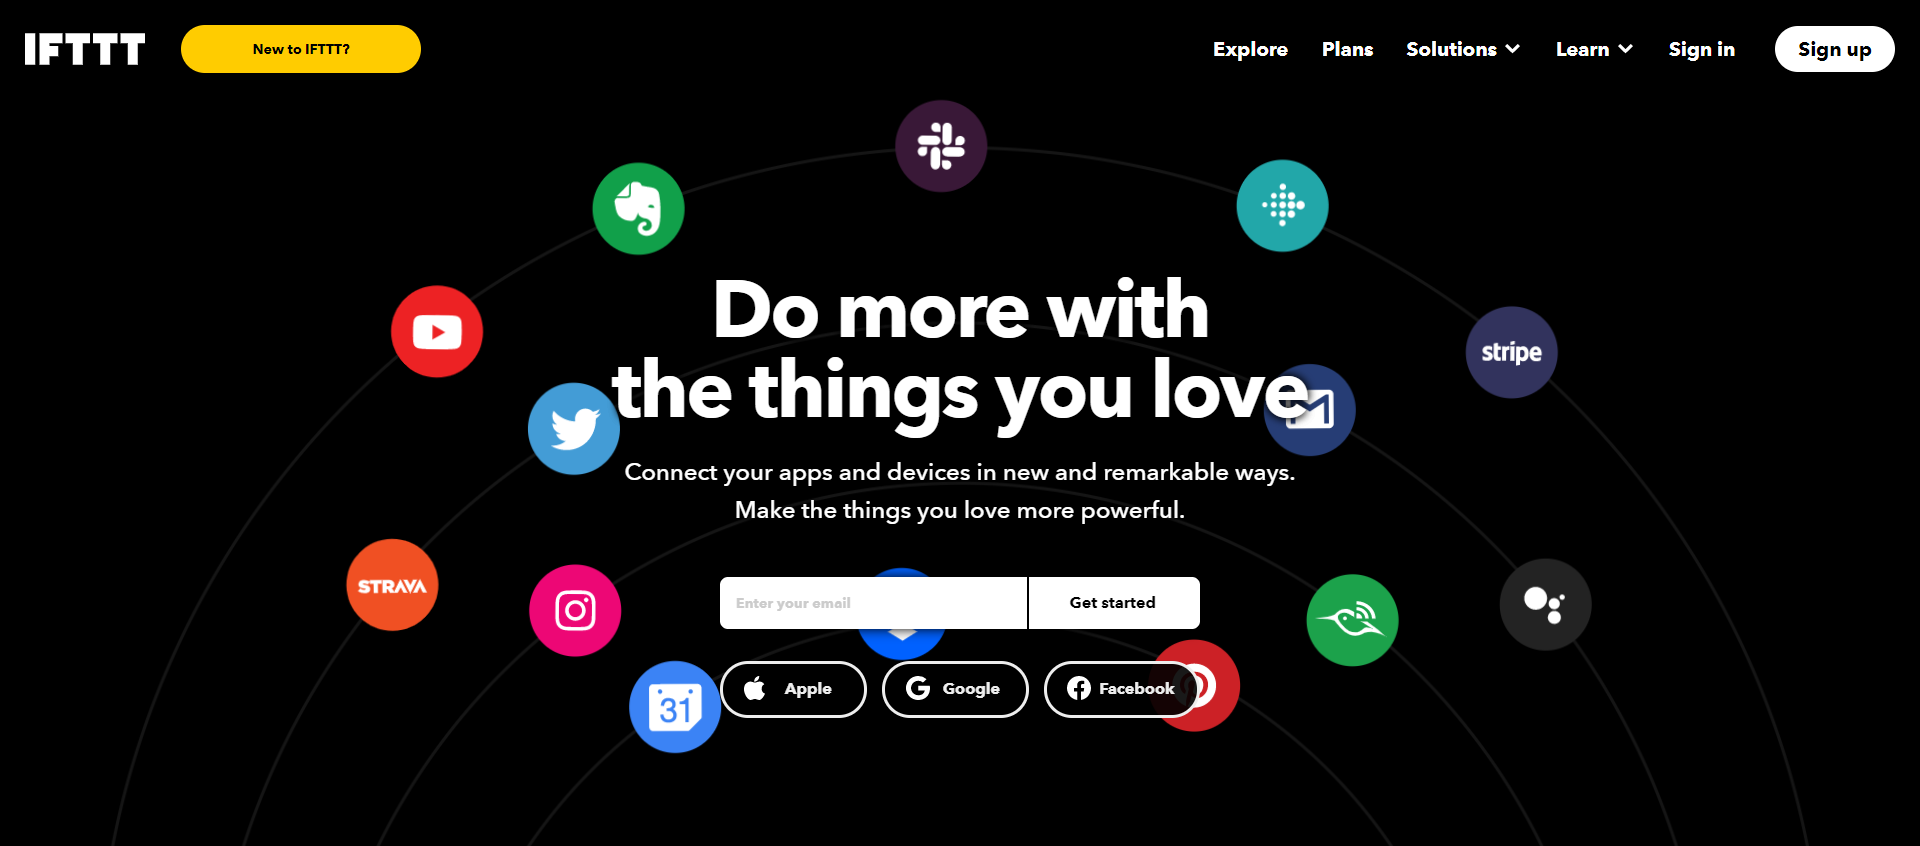
1: Sign up and sign in your IFTTT account.
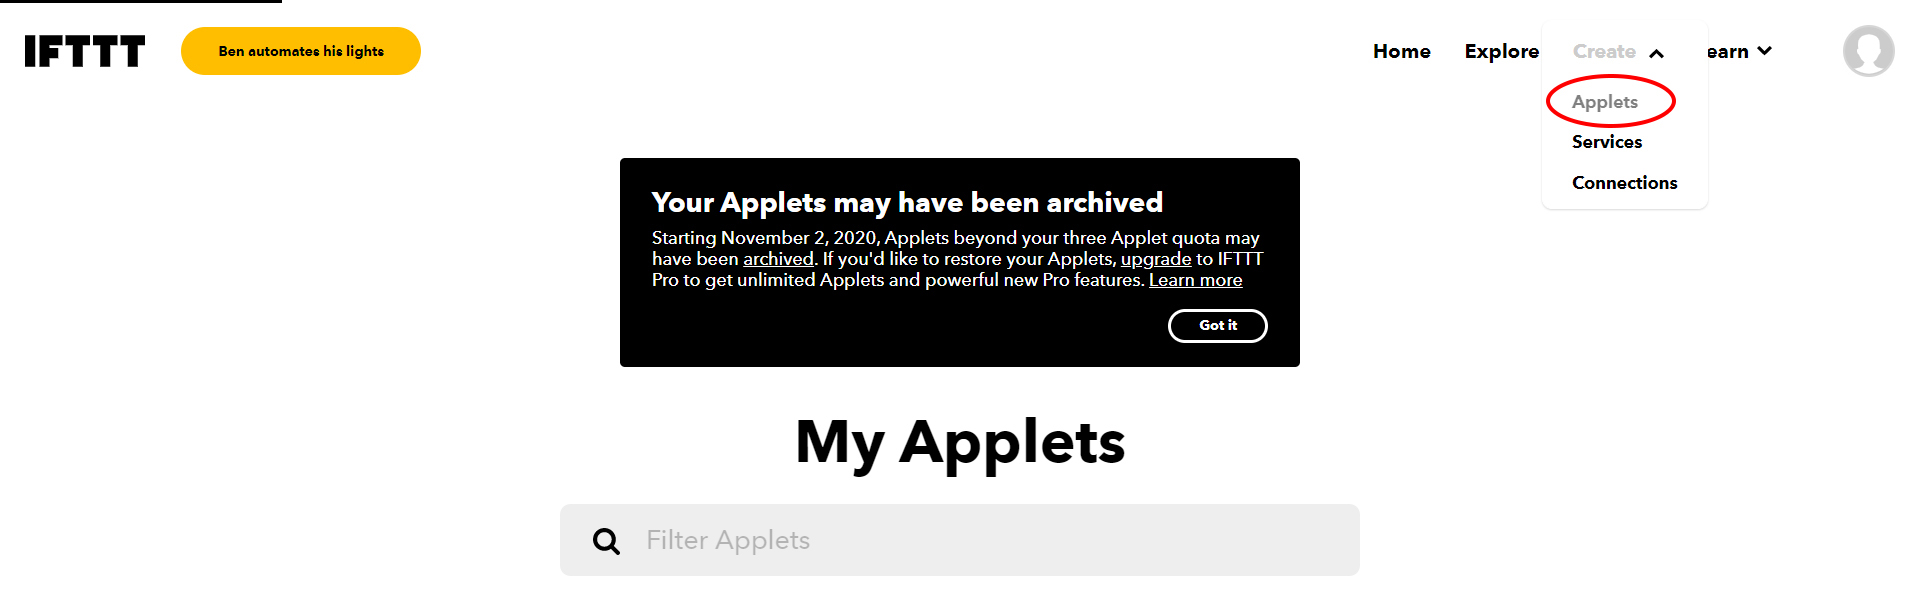
2: Click the “Create” on the upper right corner.
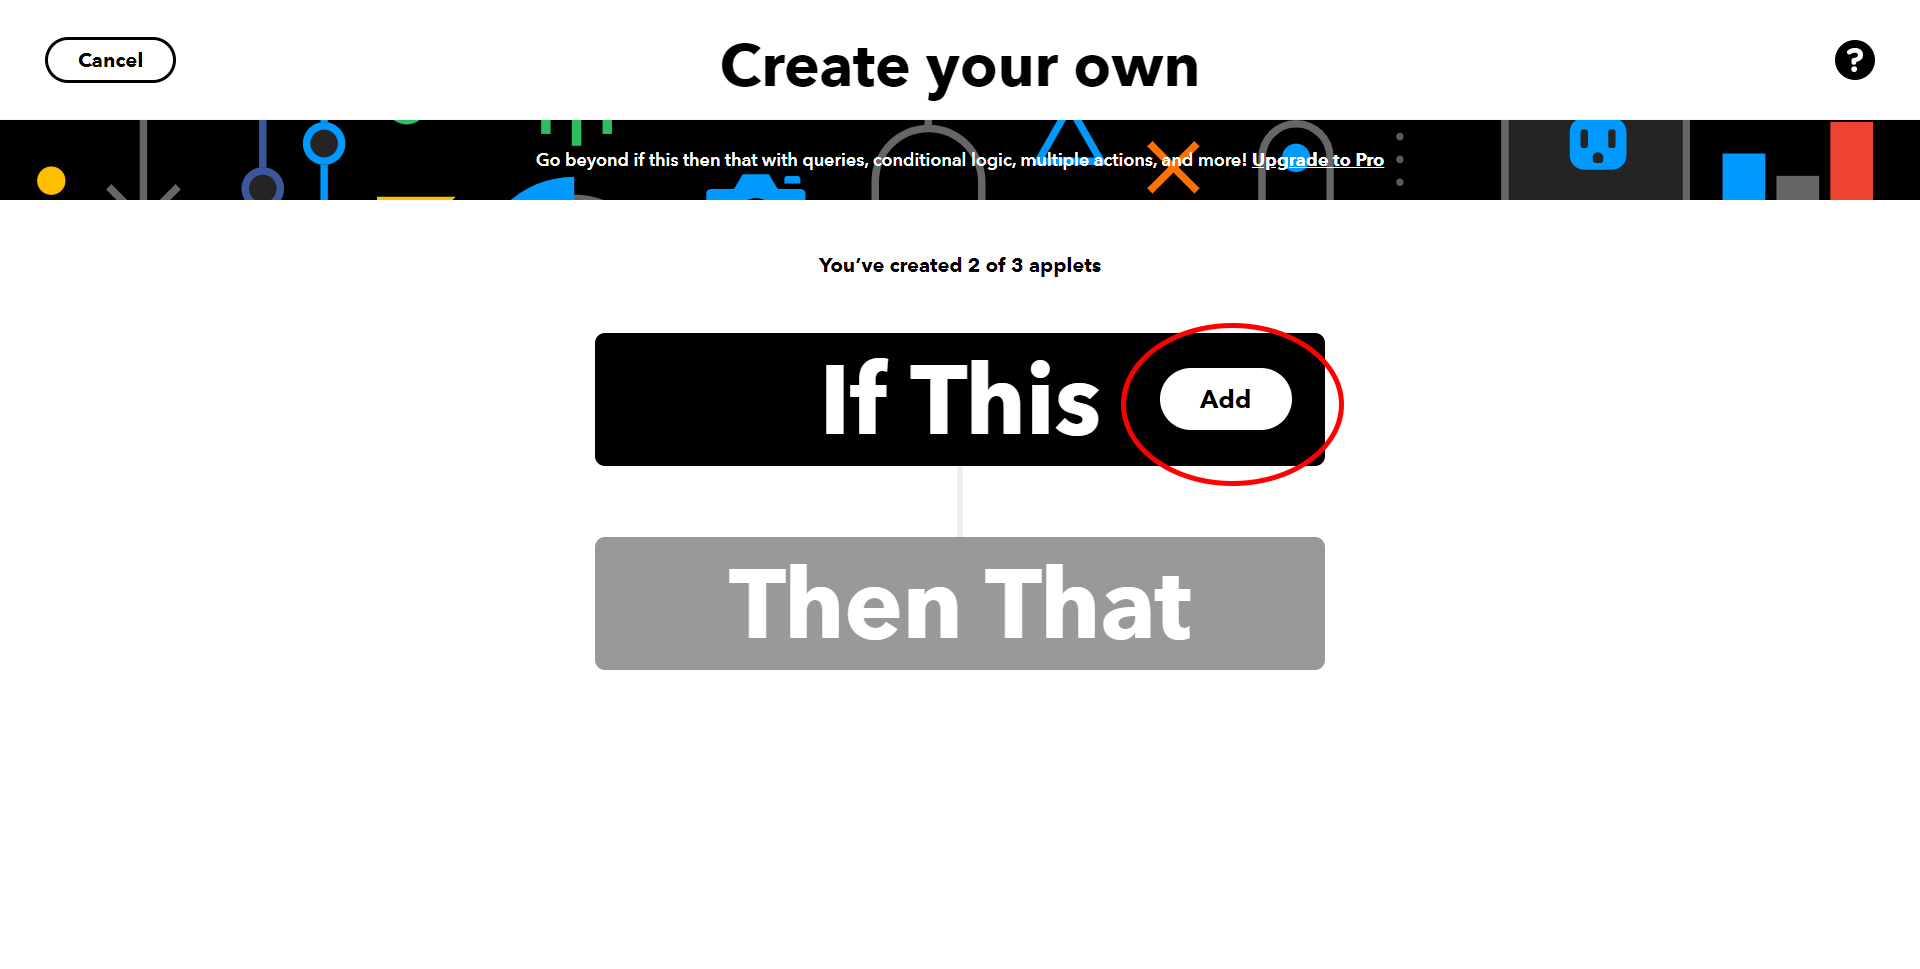
3: Click “This” to add an trigger.
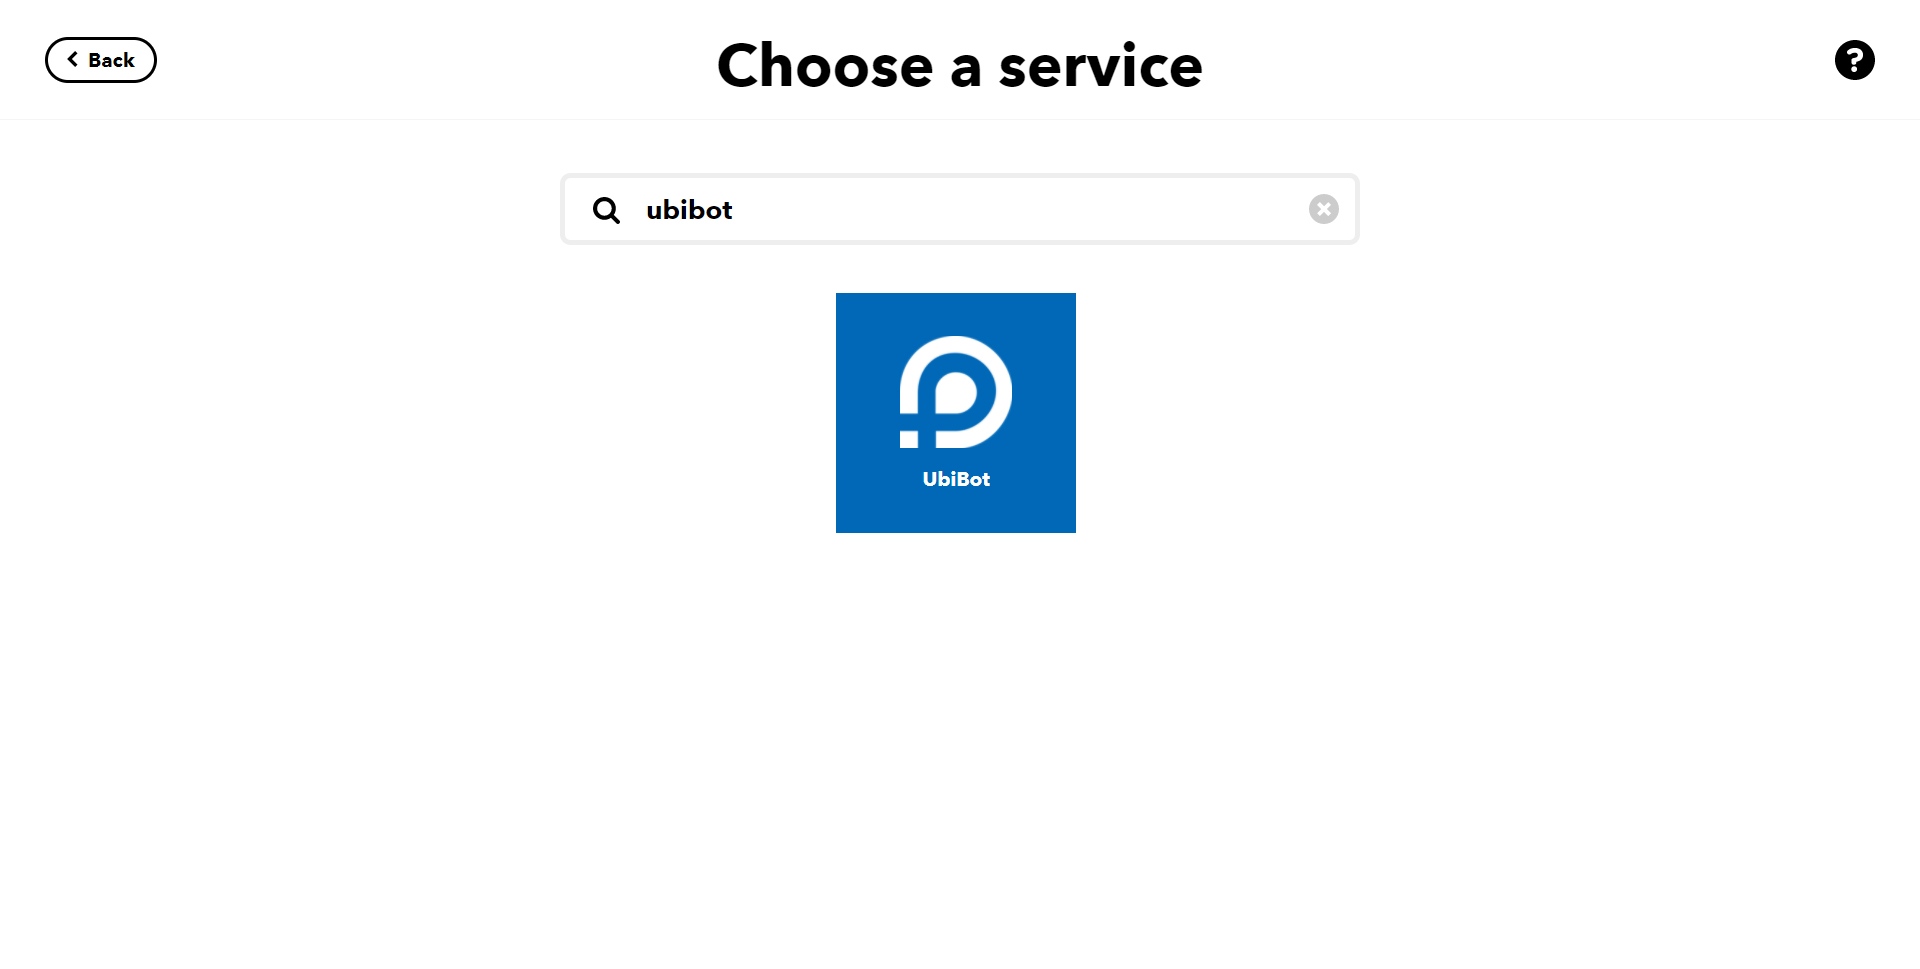
4: Enter “ubibot” and choose the UbiBot service.
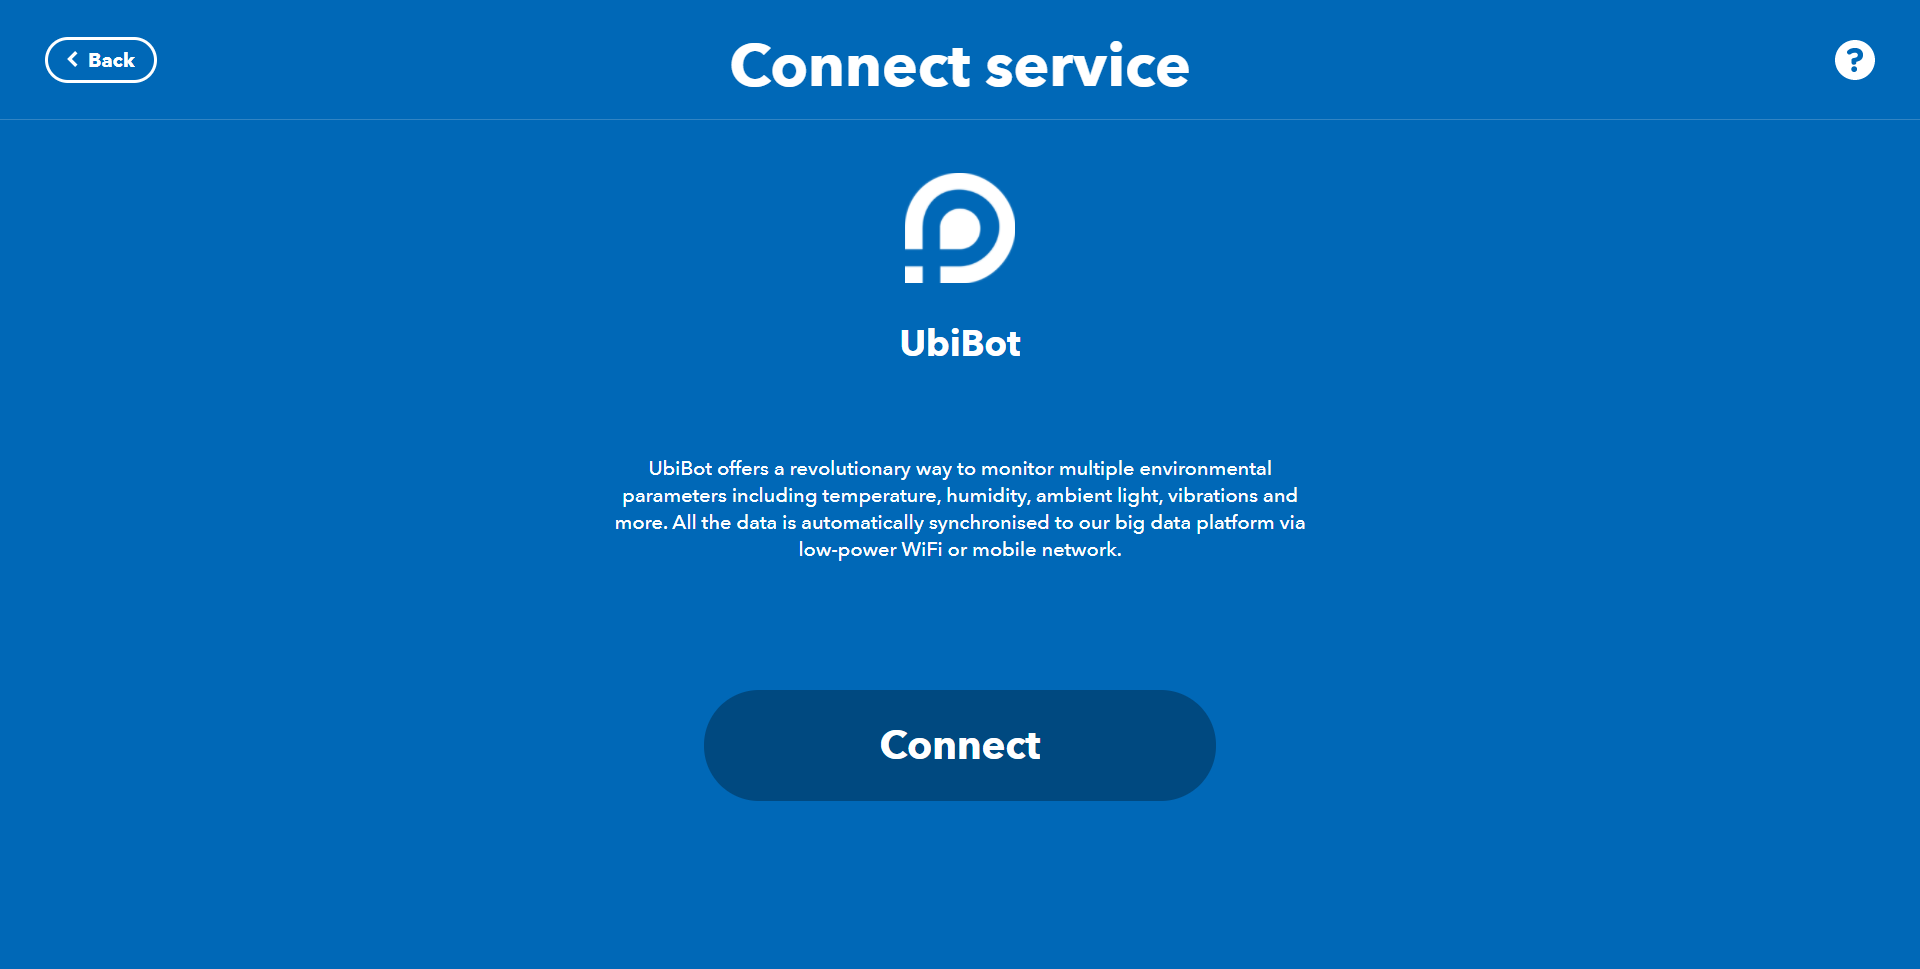
5: Click “Connect”
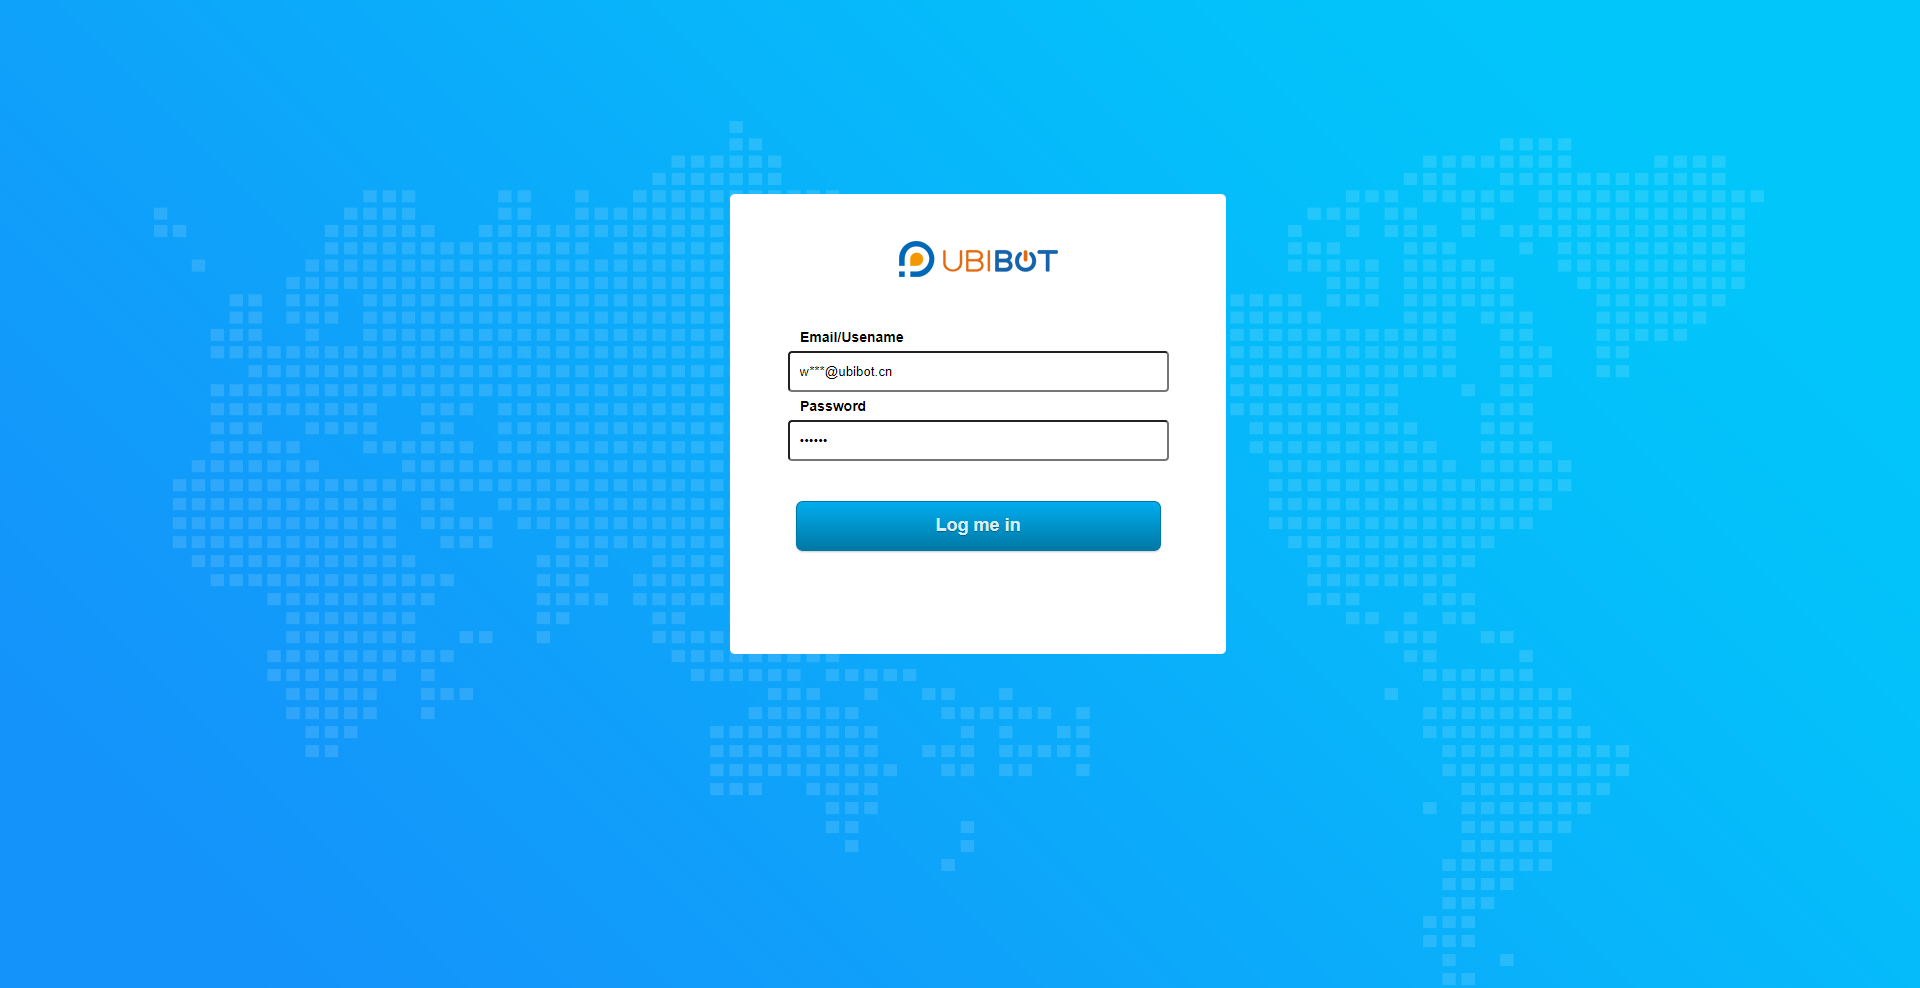
6: Enter your UbiBot account information to connect it with IFTTT platform.
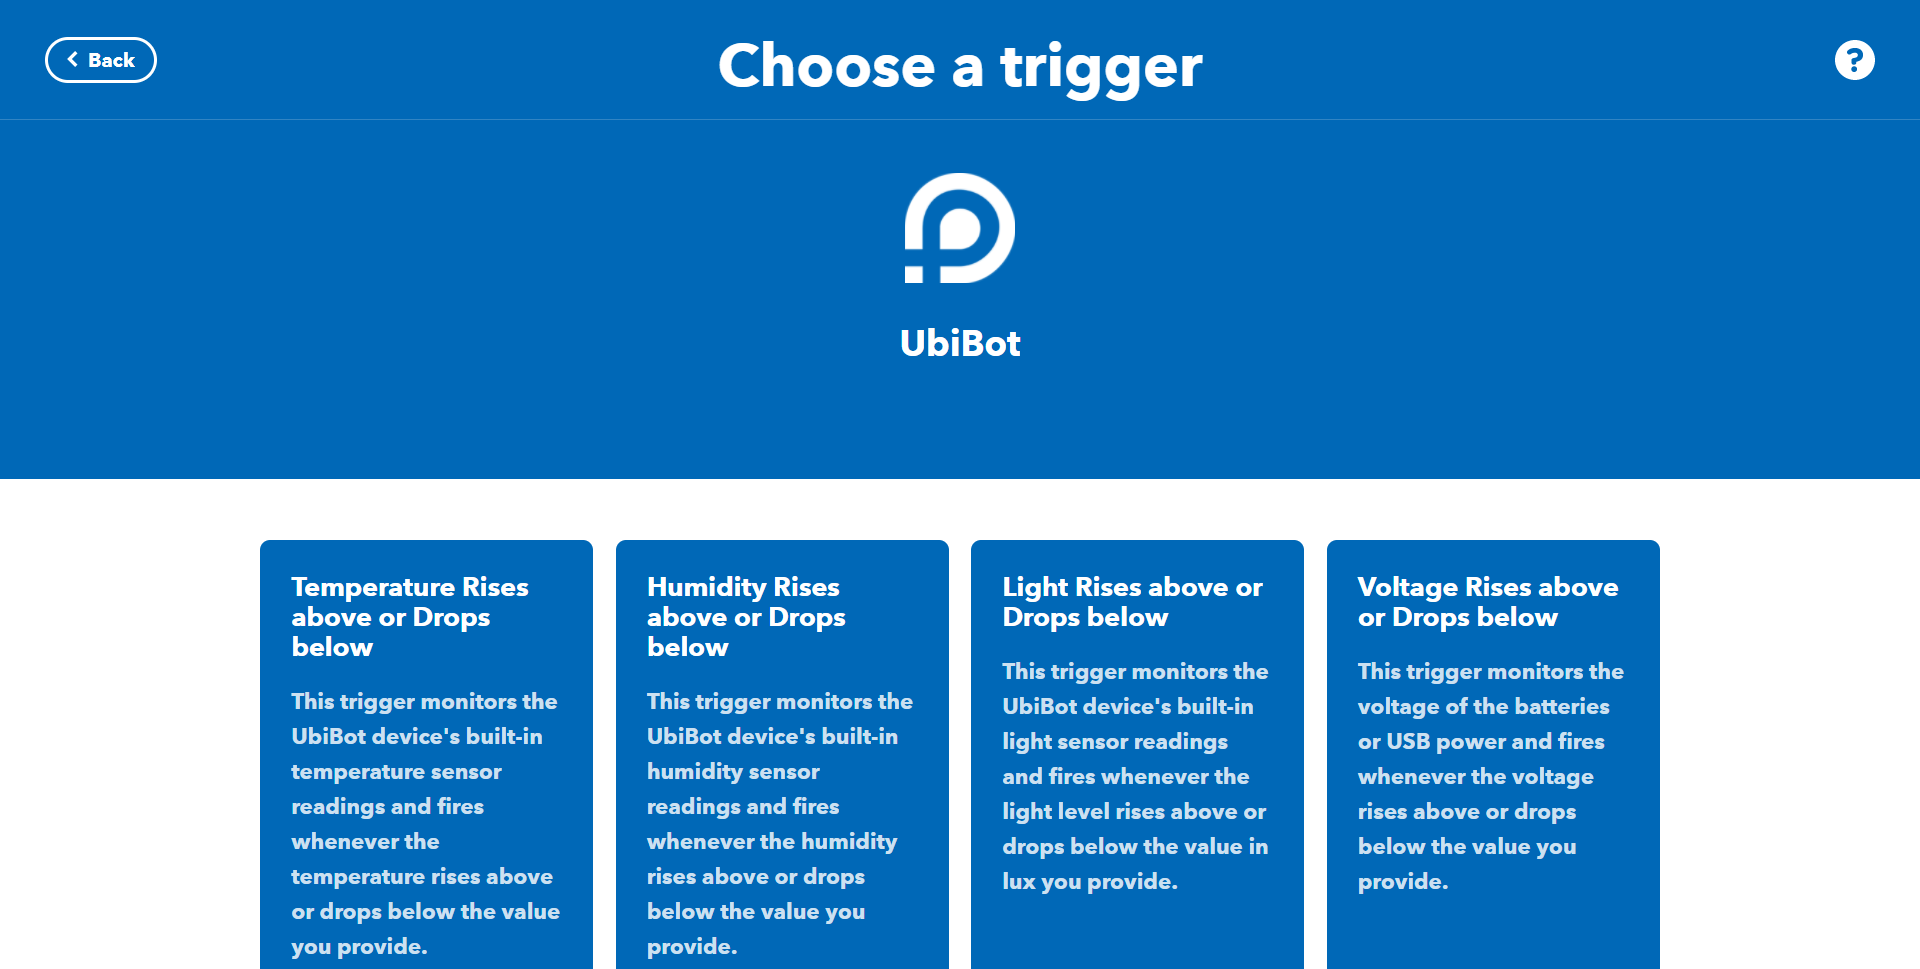
7: You can see all the triggers here and choose one.
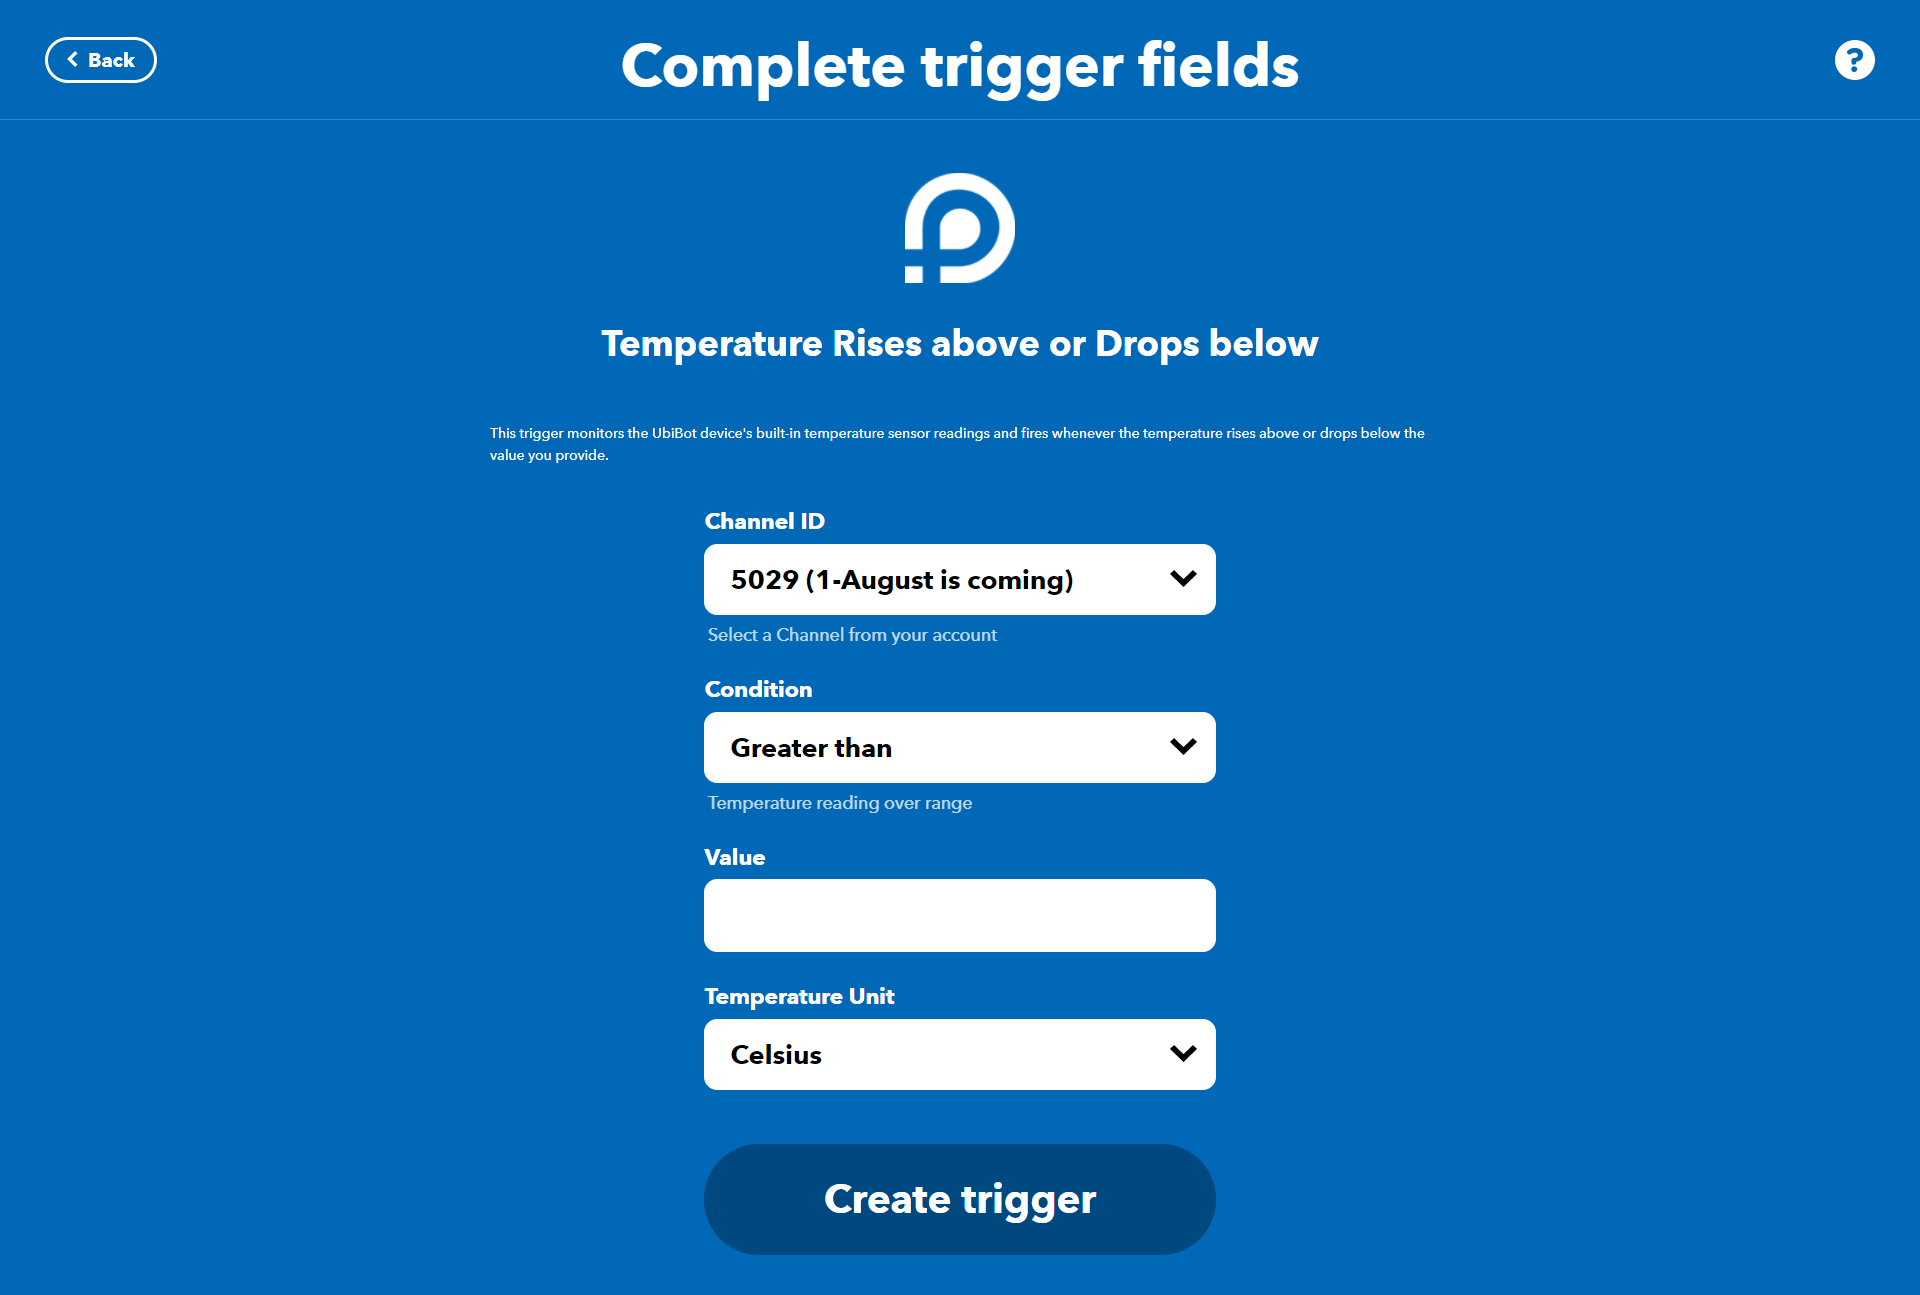
8: Choose a channel ID (Device) and click ”Create trigger”
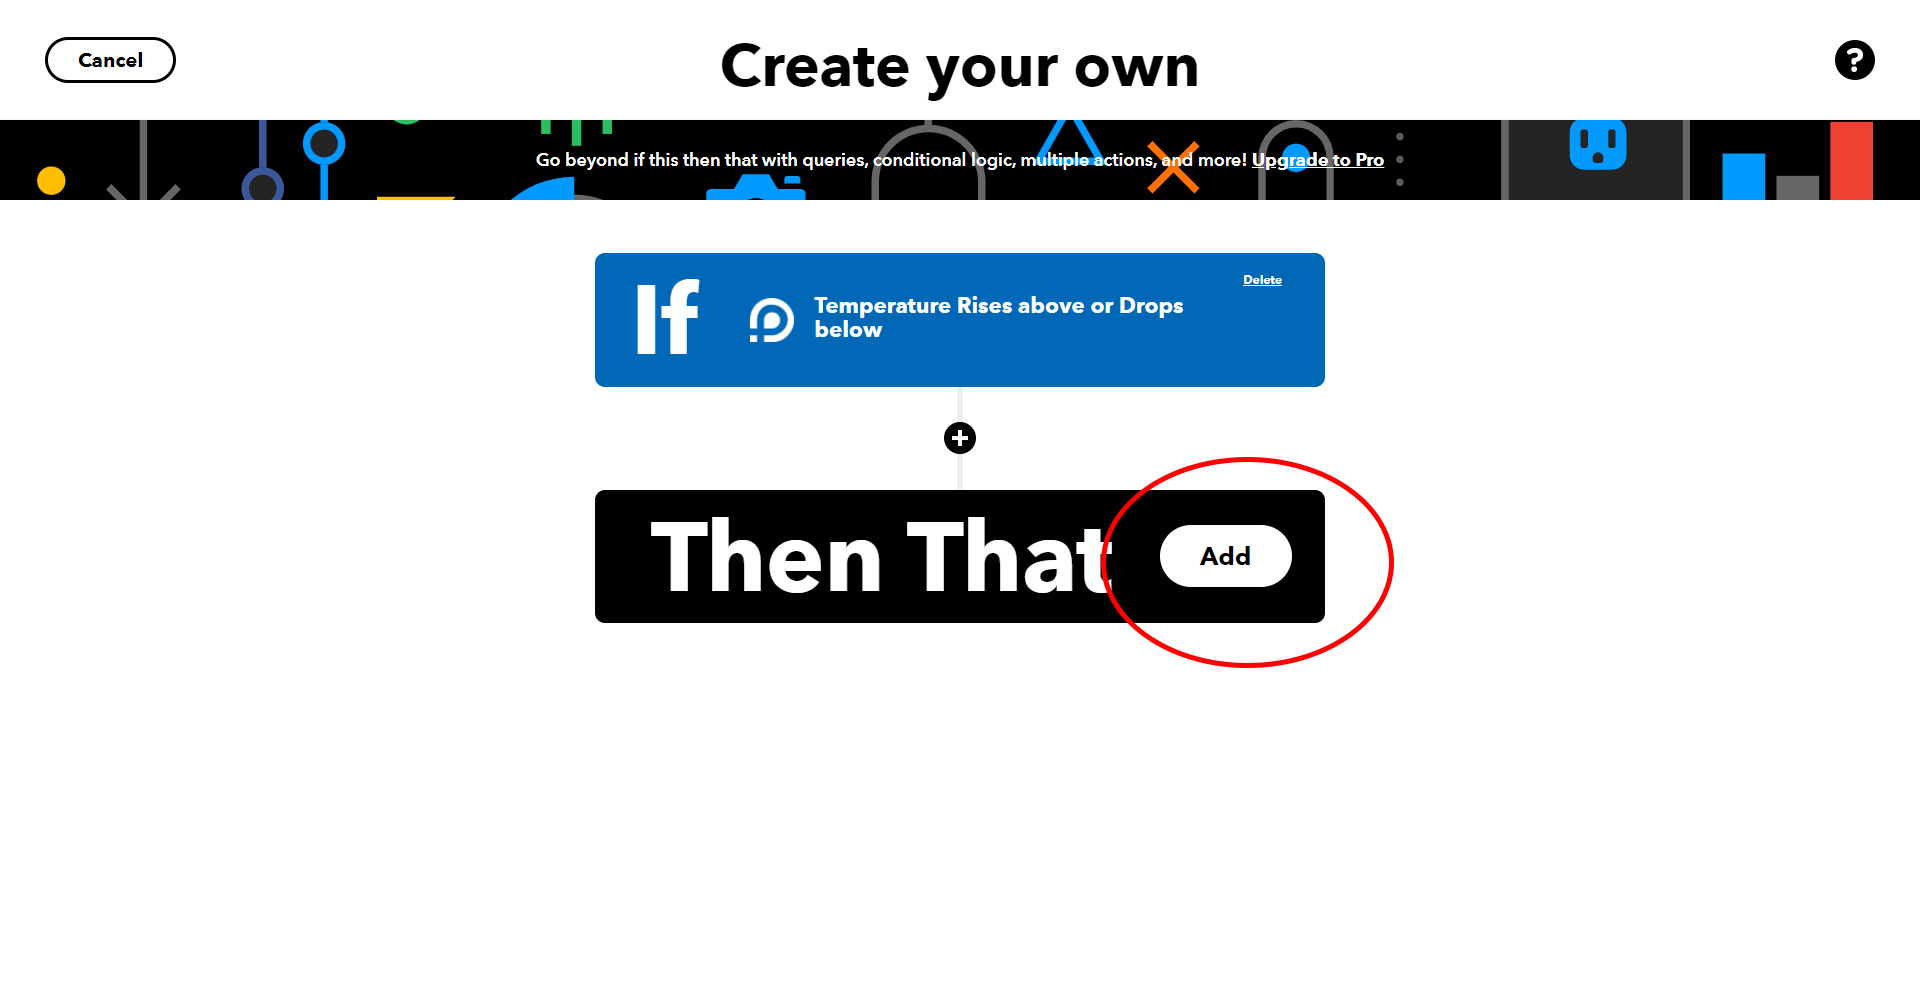
9: Click “That” to add an action.
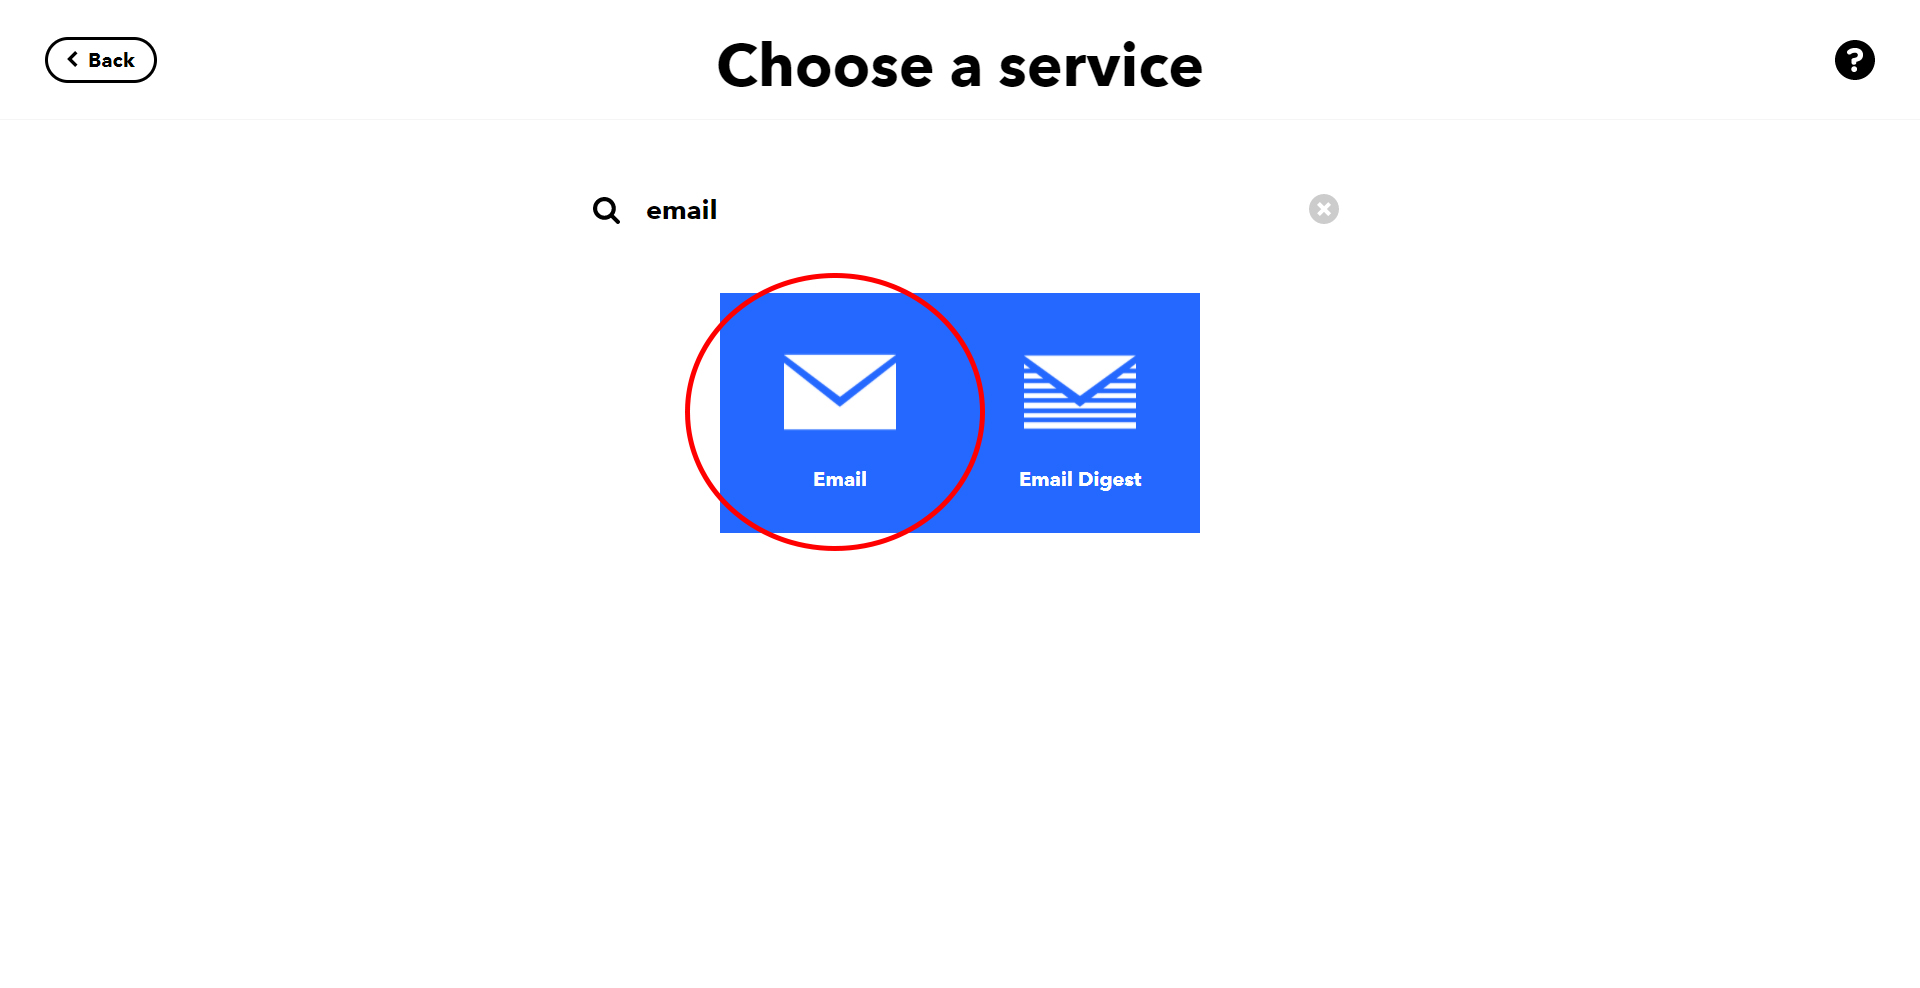
10: Here I choose “Email” as an example.
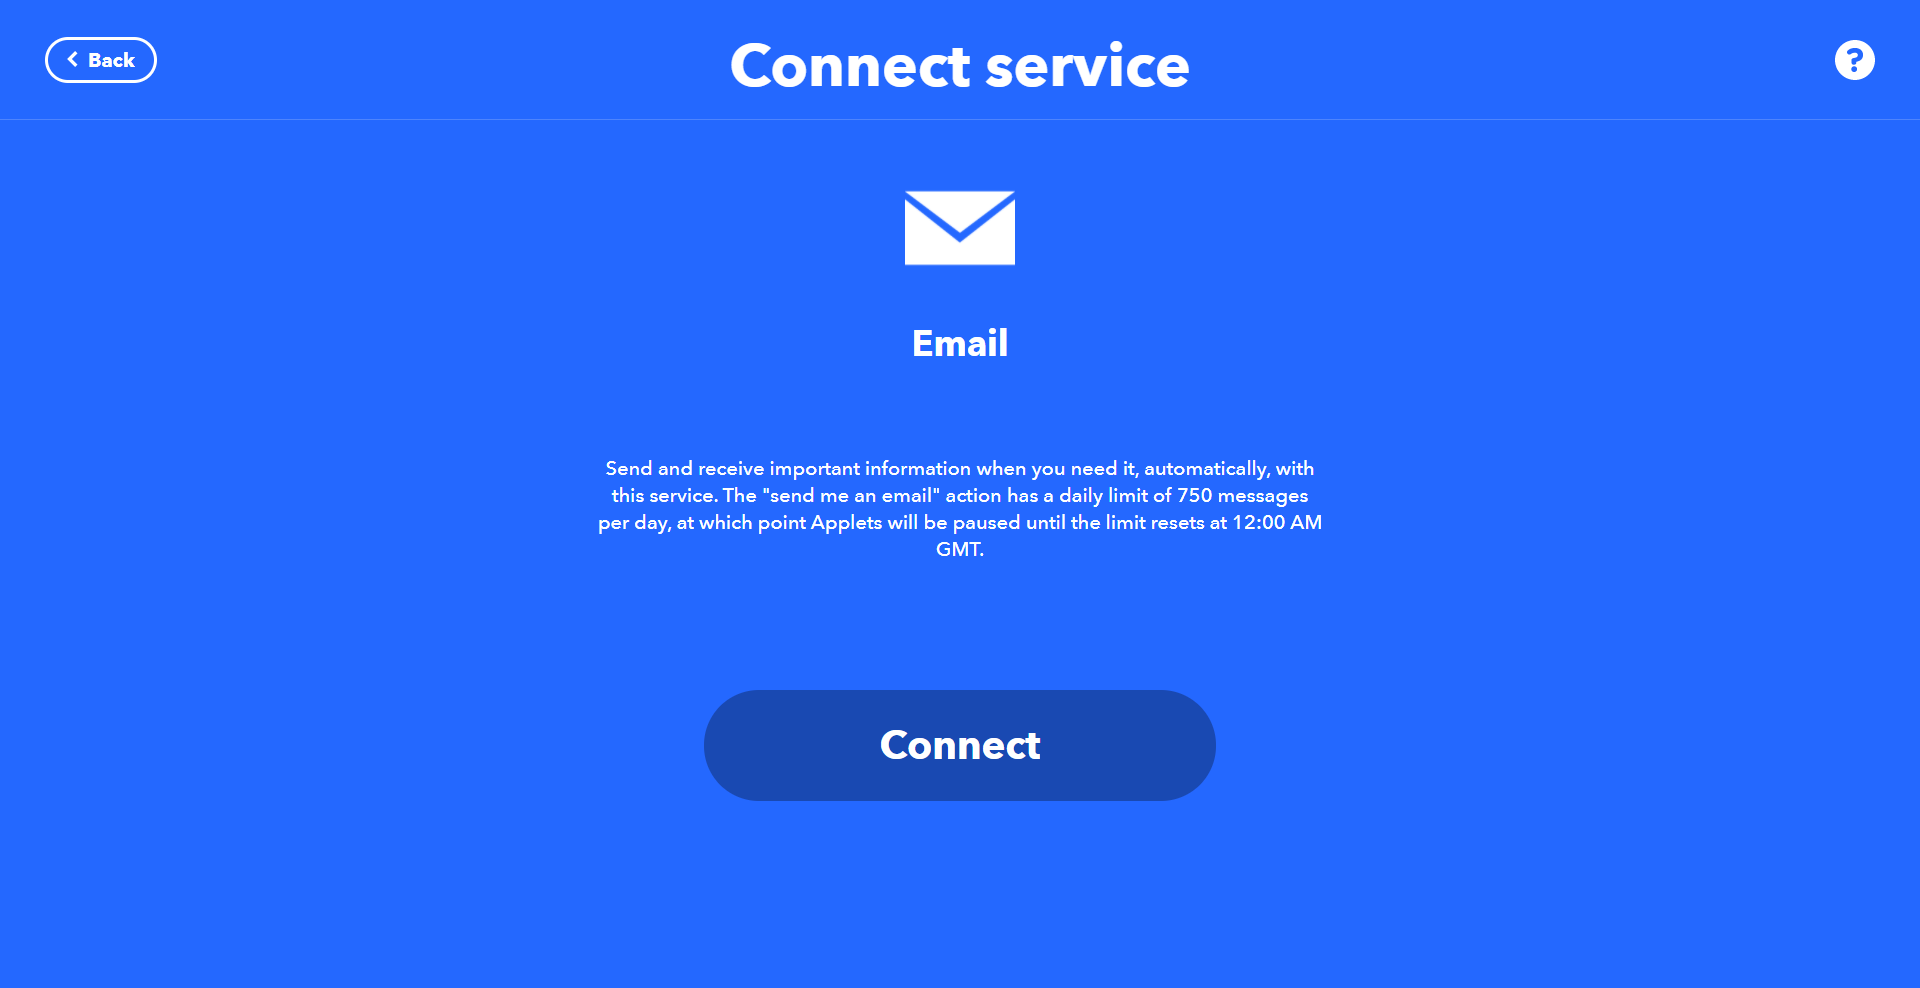
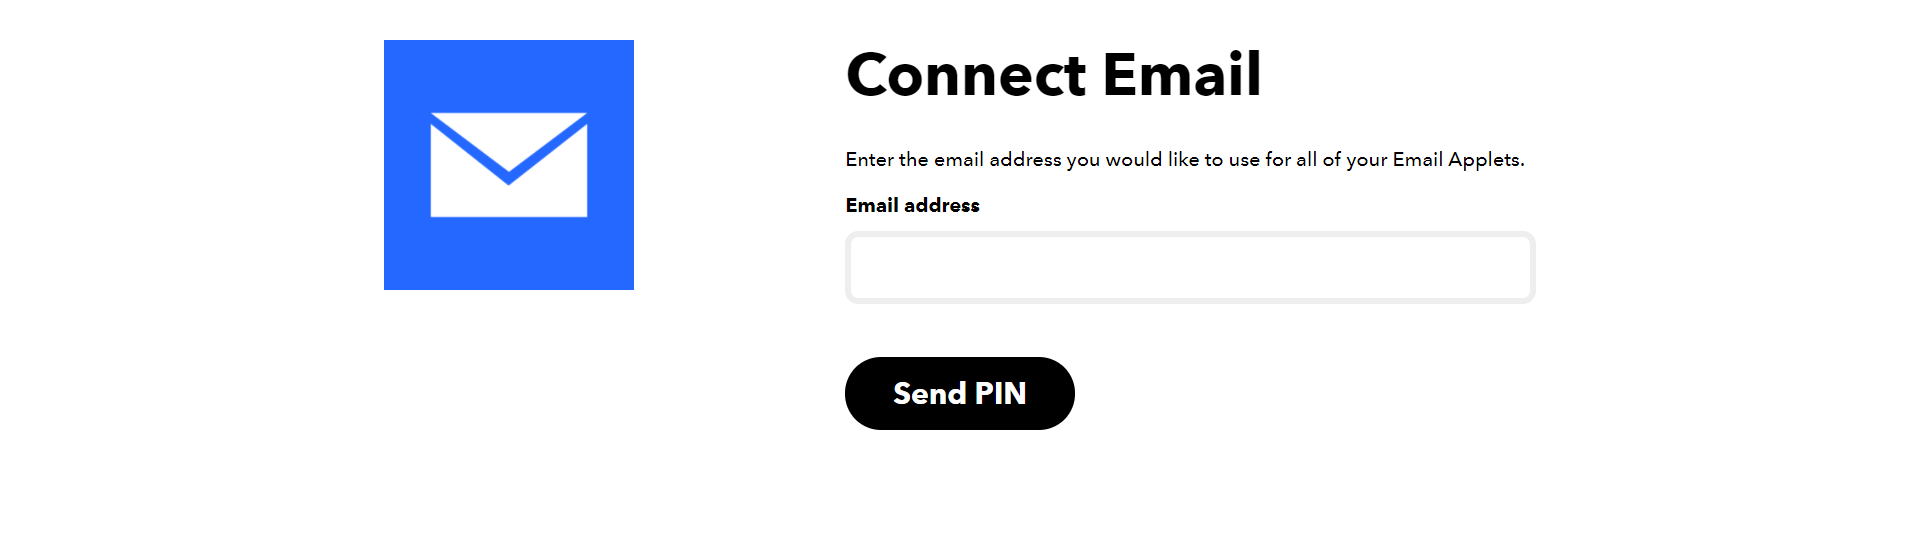
11: Click “Connect”.
12: Enter your Email address to connect it with IFTTT platform.
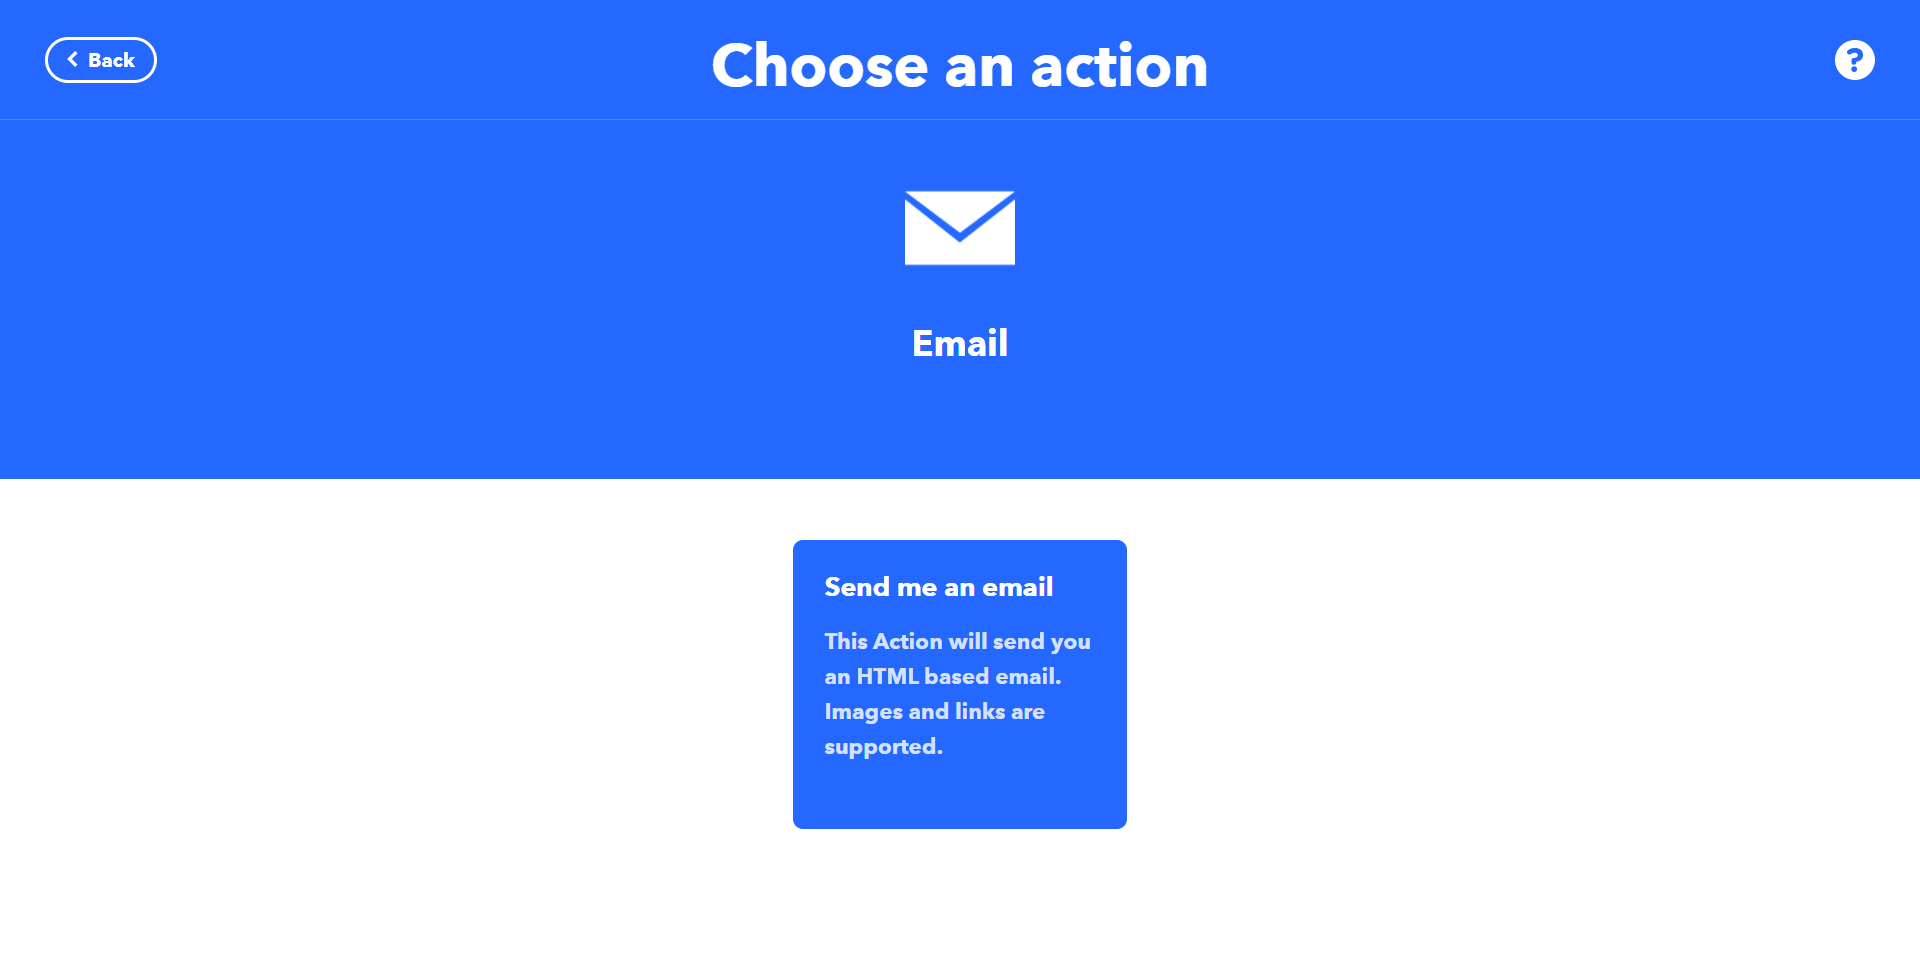
13: Choose the email action
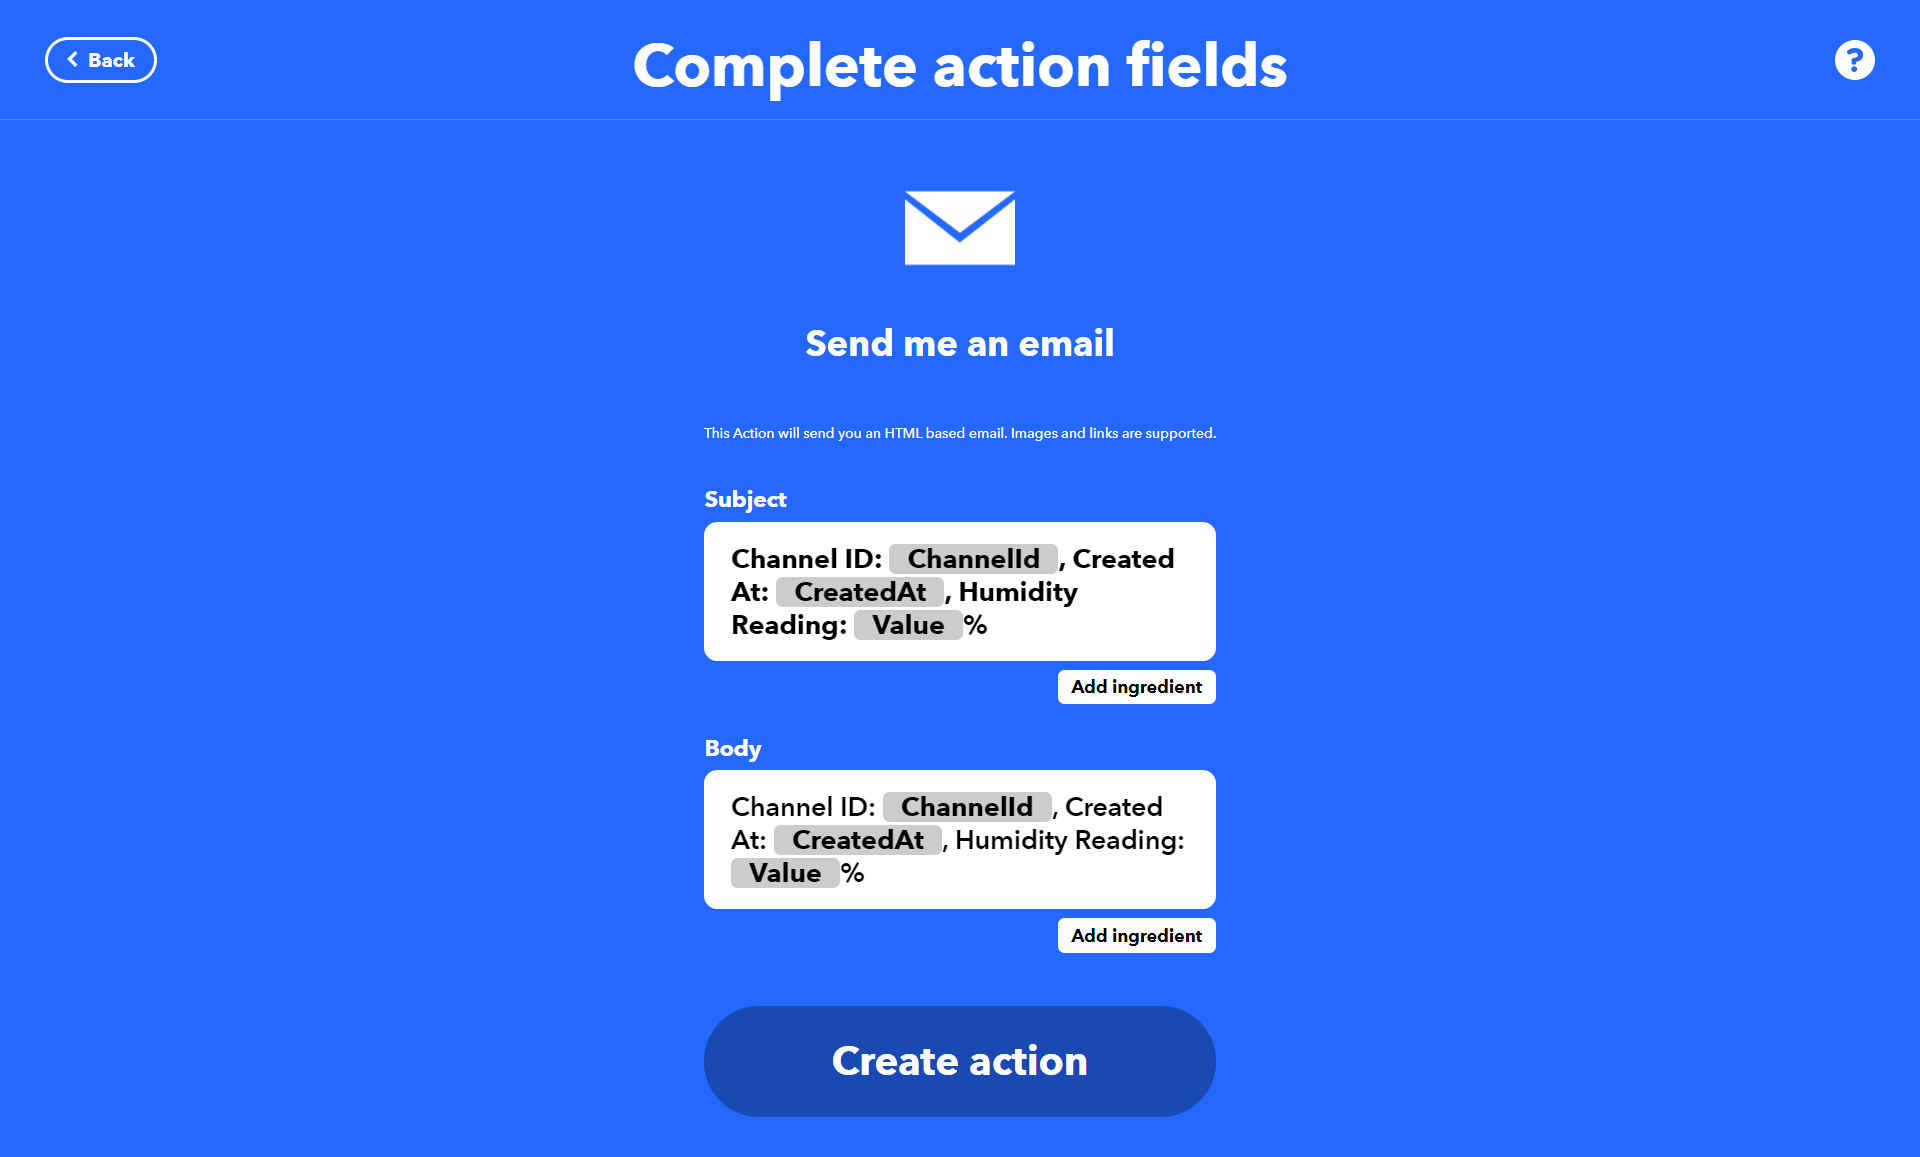
14: You can edit the content of email here.
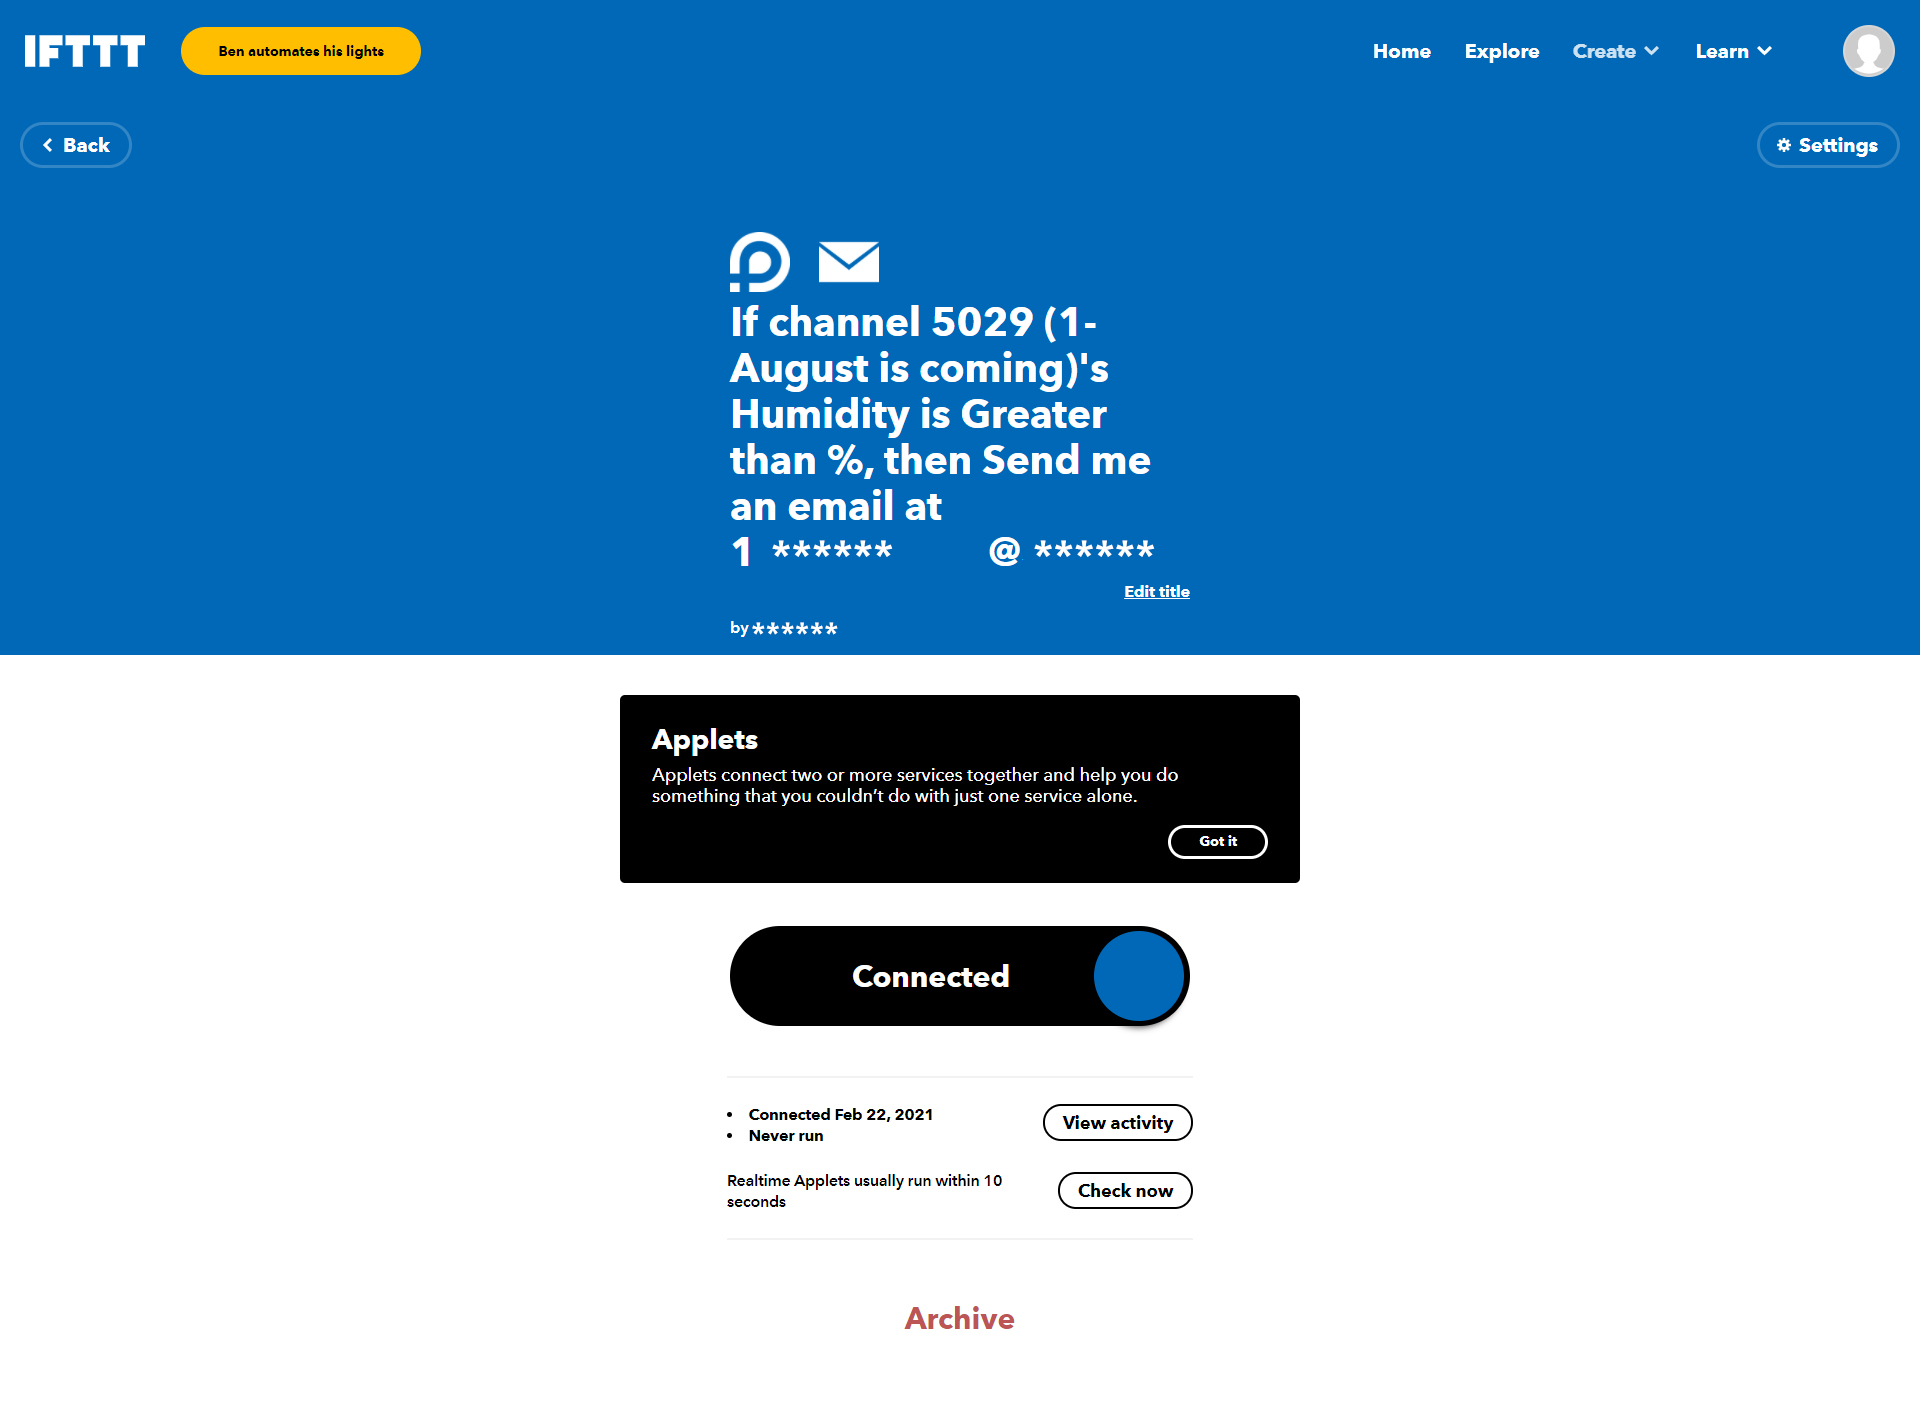
15: Now, you have created an applet successfully.